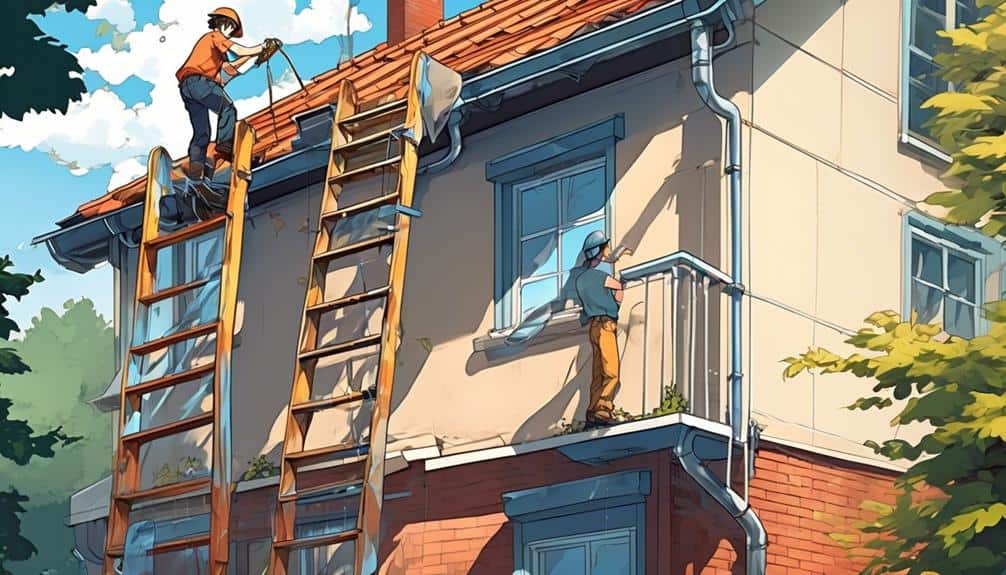
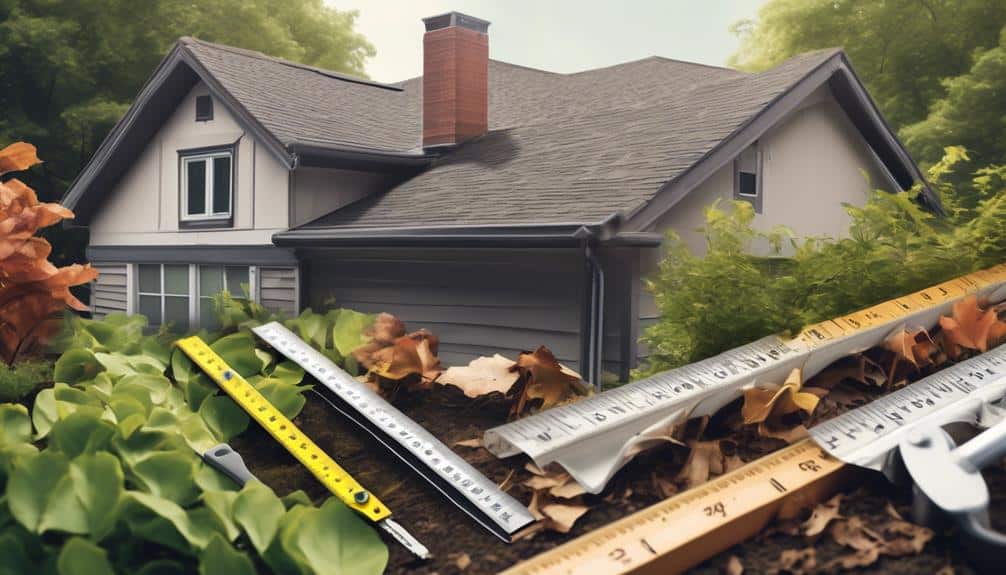
To install new gutters, gather materials like aluminium gutters, brackets, downspouts, and silicone sealant. Measure accurately to determine the correct gutter size and alignment for optimal water flow.
DIY installation can reduce costs and personalize your home. Ensure proper debris removal to prevent clogs and water damage. Following these steps will result in a successful gutter installation.
Key Takeaways
- Installing gutters yourself is an achievable and rewarding DIY project. It can save you money and provide a sense of accomplishment.
- Good preparation, including gathering materials and testing the gutter system, is crucial for long-lasting and efficient operation.
- Whether you’re a seasoned DIY enthusiast or a homeowner looking to save money, this guide provides step-by-step instructions and practical tips for a smooth installation.
- Understanding the purpose behind each step is essential to ensure the job is done correctly and to prevent future issues. Regular testing and maintenance are also important to keep your new gutter system in optimal condition.
What Materials Do I Need to Install Gutters?
First things first, you’ll need to pick the best material for your gutters. With choices like aluminium, vinyl, steel, and copper, it’s not always easy to decide. Materials you will need for the installation are gutters, fascia brackets, downspouts, silicone sealant, rivets, machine screws, and spray paint. Tin snips are essential for cutting gutters to the correct size.
Silicone sealant waterproofs end caps, seals seams, and secures downspouts. Rivets join gutter sections securely. Proper alignment ensures correct water flow towards downspouts. Spray paint can match gutters to your home’s exterior. These materials create a robust system to manage rainwater and protect your home.
But remember, installing your new gutters is just the beginning. Keeping them in tip-top shape is key to making sure they do their job well. Regular cleaning and inspecting of gutters are must-dos. Clearing out leaves, debris, and any other blockages is a surefire way to keep the water flowing as it should. Plus, regular check-ups give you a chance to spot and fix any damage or leaks before they become a headache.
How Do You Measure for New Gutters?
First, measure the roofline length to determine the total guttering required. Include additional length for joints, corners, and end caps. Consider the roof catchment area and local rainfall intensity to choose the appropriate gutter size and capacity. Ensure proper alignment and slope for efficient drainage.
Consult local building codes for compliance. Accurate measurements help in planning and ensuring efficient rainwater management. It protects your home from potential water damage. Before you make your final call on the size and material of your gutters, it’s wise to weigh out your budget, local weather conditions, and your personal taste. By taking the time to measure and plan for your new gutters, you’re setting yourself up for a successful installation. It will keep your home safe and dry for years to come.
Accurately measure for new gutters by following these steps:
- Measure the roofline to determine the exact length of guttering needed for all applicable sides of the house.
- Assess the roof’s catchment area, including dimensions and pitch.
- Consider local rainfall intensity to determine the appropriate gutter size.
- Add an extra 100mm at each joint for overlap.
- Allocate twice the gutter’s width for external corners to ensure a snug fit and account for return stop ends.
- Factor in potential material loss from mitre cuts in corners.
- Take precise measurements of all intended gutter runs to ensure a level installation.
How Do You Install Guttering Step by Step?
To install guttering step by step:
- Measure the roofline to determine the materials needed.
- Purchase gutters, fascia brackets, and downspouts.
- Attach the downspout outlet to the roof.
- Fix end caps to the gutter sections.
- Cut gutters to length using tin snips.
- Mount gutters to securely fastened fascia brackets, spaced every 24-36 inches.
- Secure the gutters with machine screws.
- Seal seams with silicone caulk.
- Connect downspouts to the gutters and apply sealant to all seams.
How to Install Gutter Brackets or Hangers?
When it comes to securely fastening your gutters, the right installation of gutter brackets or hangers is absolutely crucial. Here are a few key things to keep in mind during the installation process:
- Spacing for gutter brackets: Ensuring the right amount of space between each gutter bracket is paramount. This will guarantee ample support for your gutters. Usually, a space of 24 to 36 inches between each bracket is recommended. However, this can vary based on the weight of your gutters and your local weather conditions.
- Variety of gutter hangers: There are plenty of gutter hangers to choose from, each with its unique set of pros. Some of the commonly used types are spike and ferrule hangers, strap hangers, and hidden hangers. While spike and ferrule hangers are an affordable choice and fairly simple to install, they might not be the sturdiest option. Strap hangers, on the other hand, offer more stability and can be easily adjusted. If a seamless look is what you’re after, hidden hangers are the way to go.
- Benefits of different types of gutter hangers: Spike and ferrule hangers are a favourite among many because they are easy on the pocket and simple to install. Straphangers provide added stability and are adjustable to fit different gutter sizes. Hidden hangers bring a neat, clean look to your gutters as they are not visible from the ground level.
Do Gutter Guards Need to be Installed with New Gutters?
Yes, gutter guards should be installed with new gutters to fully reap the benefits of gutter guards. By doing so, you can ensure that the gutters are protected from debris and that the potential for clogs is minimized. This can lead to fewer maintenance issues and a longer lifespan for your gutters.
How Should Guttering Be Fitted?
Guttering should be fitted by ensuring an appropriate slope, around a quarter-inch drop per 10 feet, to enable efficient water flow. Secure the fascia brackets to the eaves using stainless steel screws, spaced every 24 to 36 inches. Align and fasten the gutters to the brackets. Seal the seams between gutters and downspouts with silicone caulk to prevent leaks. Direct downspouts at least three feet away from the building’s foundation. Regular maintenance, including debris removal and system inspections, ensures longevity and performance.
Frequently Asked Questions
Can I Install Gutters Myself?
Yes, you can install gutters yourself. DIY gutter installation can save you money and it allows you to customize materials, colours, and styles to match your home’s design. Detailed guides are available online to help you through the process. With careful planning and attention to detail, you can achieve a quality result that enhances your home’s appearance and functionality.
What Is Gutter Spacing?
Gutter spacing is the distance between sections of a gutter system. It is crucial for effective water management and preventing overflow. Typically, the recommended spacing for gutter sections is 36 to 48 inches apart. This ensures efficient water flow from the roof into the gutter, reducing the risk of pooling, leaks, and damage to the roof and foundation.
Can You Screw a Gutter Into Fascia?
Yes, you can screw a gutter into fascia using durable fascia brackets. Fascia brackets, typically made from aluminium or steel, provide robust support for gutters.
How Far Off the Ground Should a Gutter Be?
Gutters should be positioned around 6 to 10 inches above the ground. This height ensures efficient drainage, minimizes water damage, and reduces debris build-up.
How Many Downpipes Should a Gutter Have?
A gutter should have one downpipe for every 50 to 60 feet of gutter length. This guideline may be adjusted based on factors like the roof’s catchment area and local rainfall intensity.
What Slope Should Gutters Be Hung At?
Gutters should be hung at a slope of 1/4 inch per 10 feet. This slope ensures proper water drainage towards downspouts. It prevents water damage to the house’s foundation. It balances between too steep, which causes overflow, and too flat, which leads to pooling.


