Gutter Guide 01
Overview
- January 24, 2024
- William Murphy
Table of Contents
To start fitting gutter installation, you need to measure and mark the layout lines. This ensures that the gutters are aligned correctly and have the right slope for water to flow away from your property.
Measure the length of the roof where the gutters will go, then use a chalk line to mark a straight line along the fascia, making sure it slopes properly. The standard slope is about 1/4 inch for every 10 feet towards the downspout to ensure water drains efficiently.
Find the highest point of the gutter run and mark it. Measure down from there to establish the slope and mark the endpoint. This step is crucial for proper water flow and to prevent water from pooling. Use a level to double-check the alignment and slope for accuracy.
After marking the layout lines, attach the fascia brackets along these lines. Space the brackets evenly, usually every 32 inches, to give enough support for the gutters. Following these steps carefully sets you up for a successful gutter installation. This improves the system's durability and performance.
Let's dive into the essentials of gutter installation for lasting structural protection.

Gutter Guide 02
Key Takeaways
- Use chalk to mark precise layout lines for proper alignment of the gutter installation.
- Securely attach fascia brackets to provide strong support for the gutter sections.
- Ensure accurate measurements and precise cuts of gutter sections for a seamless fit.
- Effectively seal end caps to prevent any potential water leaks.
- Maintain a proper slope by using string lines to guarantee efficient water flow.
Gutter Guide 03
What Tools Are Needed for Gutter Installation?
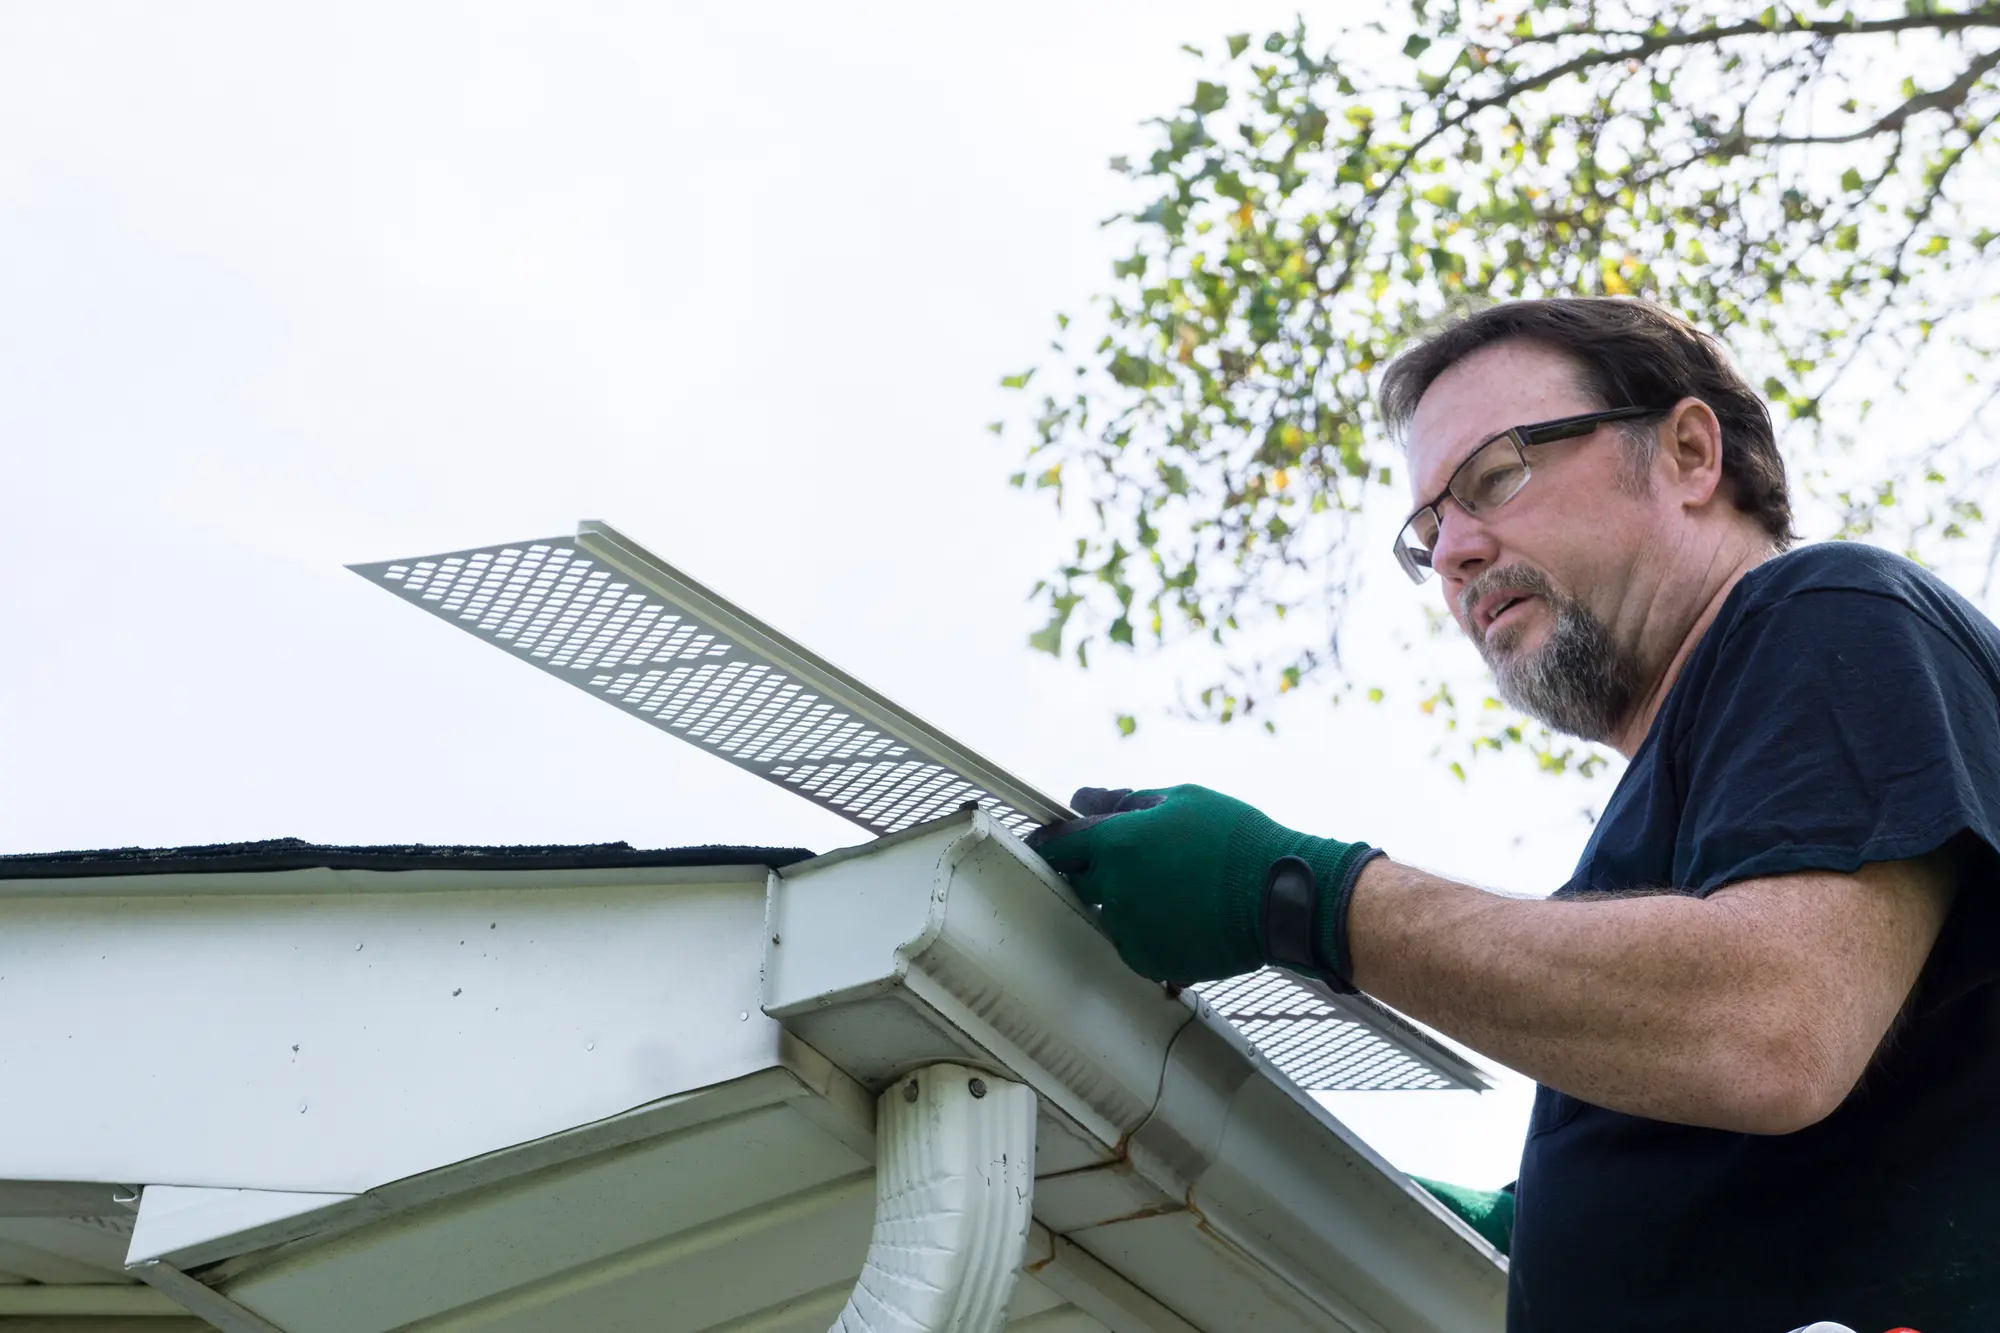
A variety of tools are essential for a successful gutter installation. You'll need sheet metal notchers and punches to cut and shape metal gutters accurately. Metal roof-cutting tools are crucial for clean cuts in metal roofing. For vinyl materials, specialised vinyl siding tools ensure proper fitting.
A stone-coated steel roofing cutter is vital for tough materials. Marking and scribe tools help with accurate measurements and alignment. Hog ring pliers, commonly used in fencing, can secure gutter components effectively.
Don't forget safety gear like gloves, goggles, and sturdy ladders for a safe work environment. Basic tools like tape measures, levels, and saws are necessary for measuring and cutting gutter sections. Having the right tools ensures a professional and durable gutter installation.
Gutter Guide 04
How to Prepare for Gutter Installation?
Getting ready for gutter installation involves getting the right tools and materials and planning out where everything will go for a smooth setup. Start by gathering tools like sheet metal notchers, metal roof cutting tools, vinyl siding tools, marking and scribe tools, and hog ring pliers. These tools will help you cut, shape, and attach the gutters securely.
Measure the length of your roof to know how much gutter material you'll need. This step ensures you have enough materials and avoids any delays. Once you have the measurements, create a detailed plan. This will show where each gutter section will go, including where the downspouts will be placed. This plan will make the installation easier and reduce any mistakes.
Check the fascia boards for any damage or rot, and fix or replace them if necessary. Strong, intact fascia ensures the gutters will be firmly attached. Also, make sure you have end caps, downspout outlets, and brackets ready to go for the installation.
Gutter Guide 05
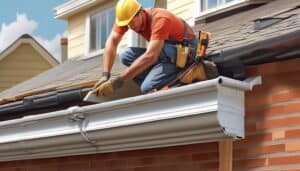
How to Install Gutters Step-by-step?
When installing gutters , it's crucial to follow a series of precise steps. This is to ensure proper water management and structural stability. Start by marking layout lines to ensure the gutters align correctly along the fascia. Then, securely attach fascia brackets to create a strong foundation for the gutter system. Measure and cut the gutter sections accurately to avoid gaps or overlaps.
Add end caps to prevent water from escaping the ends of the gutters. Carefully mark and cut downspout holes for efficient water flow. Mount the gutter sections onto the fascia brackets, making sure they are firmly in place. Use strip-mitre joints for corners to maintain a seamless water flow and structural integrity.
After installing the gutters, connect the downspouts to the pre-cut holes and secure them to the house. This setup will direct water from the roof to the designated drainage area, protecting the building's foundation. Each step, from measuring to securing the gutters, should be done with attention to detail to ensure the system functions effectively and lasts long-term.

Gutter Guide 06
How to Ensure Proper Gutter Slope?
Maintaining the right gutter slope is crucial. It's for proper water drainage and protecting your building's foundation. A precise slope ensures water flows smoothly towards the downspouts, reducing the risk of overflow and damage.
Here are three simple steps to establish the correct gutter slope:
- Bracket Installation : Install the fascia brackets along the marked line, ensuring they align with the slope. Secure the brackets firmly to provide stable support for the gutter. The aligned brackets will maintain the correct slope when attaching the gutter.
- Measurement and Marking : Measure the length of the fascia board for the gutter placement. Mark the highest and lowest points where the gutter will start and end, creating a downward slope towards the downspout. Typically, a 1/4 inch per 10 feet slope is recommended.
- String Line Setup : Use a string line to connect the highest and lowest marks as a guide for a uniform slope. Check the incline with a level to ensure it meets the necessary gradient.
Gutter Guide 07
Who Should Perform Gutter Installation?
When it comes to gutter installation, the decision of who should tackle the task is crucial. It boils down to whether you should hire a professional or take a do-it-yourself approach. Consider factors like your skills, available time, and the complexity of the project.
- Professional Installation : Opting for a professional ensures expertise and efficiency. These experts come equipped with the right tools and ample experience, leading to a faster and more reliable installation. You may also benefit from warranties offered by many companies, giving you peace of mind as a homeowner.
- DIY Installation : If you enjoy home improvement projects, installing gutters on your own can be cost-effective and fulfilling. Doing it yourself allows you to have more control over materials and techniques. However, it requires a good grasp of the process and access to tools like sheet metal notchers and metal roof-cutting tools.
- Safety Considerations : Gutter installation often involves working at heights, which can be risky. Professionals are trained to handle these dangers effectively. While DIY enthusiasts must take extra precautions, like using proper ladders and safety harnesses.
Ultimately, the choice should be based on an honest assessment of your abilities and resources to ensure the best outcome for your home.

Gutter Guide 08
Conclusion
Properly installing gutters is crucial. It's for safeguarding a building's structure by effectively managing rainwater.
Taking a methodical approach, including thorough preparation and using the right tools, is key to success. Important steps like marking layout lines, securing fascia brackets, and ensuring proper gutter slope must be done carefully.
Whether you're tackling this as a DIY project or hiring professionals, understanding each step of the process is vital. It's for a successful outcome, ensuring the longevity and stability of the building.
Get a Quick QuoteMore Posts
Our Main Services


Free local quote
Your gutter service quote is just a click away
Book a free estimate for cleaning, repairs, installation, replacement, or product advice across Limerick and Clare.
Free local estimate
2-minute health check
Limerick & Clare
Ready when you are
Get sorted faster
- Fast callback
- No obligation
- Local gutter specialists