Gutter Guide 01
Overview
- January 30, 2024
- William Murphy
Table of Contents
Can you repair leaking gutters at home without calling in professionals? While some gutter issues require expert attention, many common leaks can be fixed with the right tools and techniques.
At Guttering Services, we've helped countless homeowners across Limerick and Clare identify and address gutter leaks before they cause serious damage.
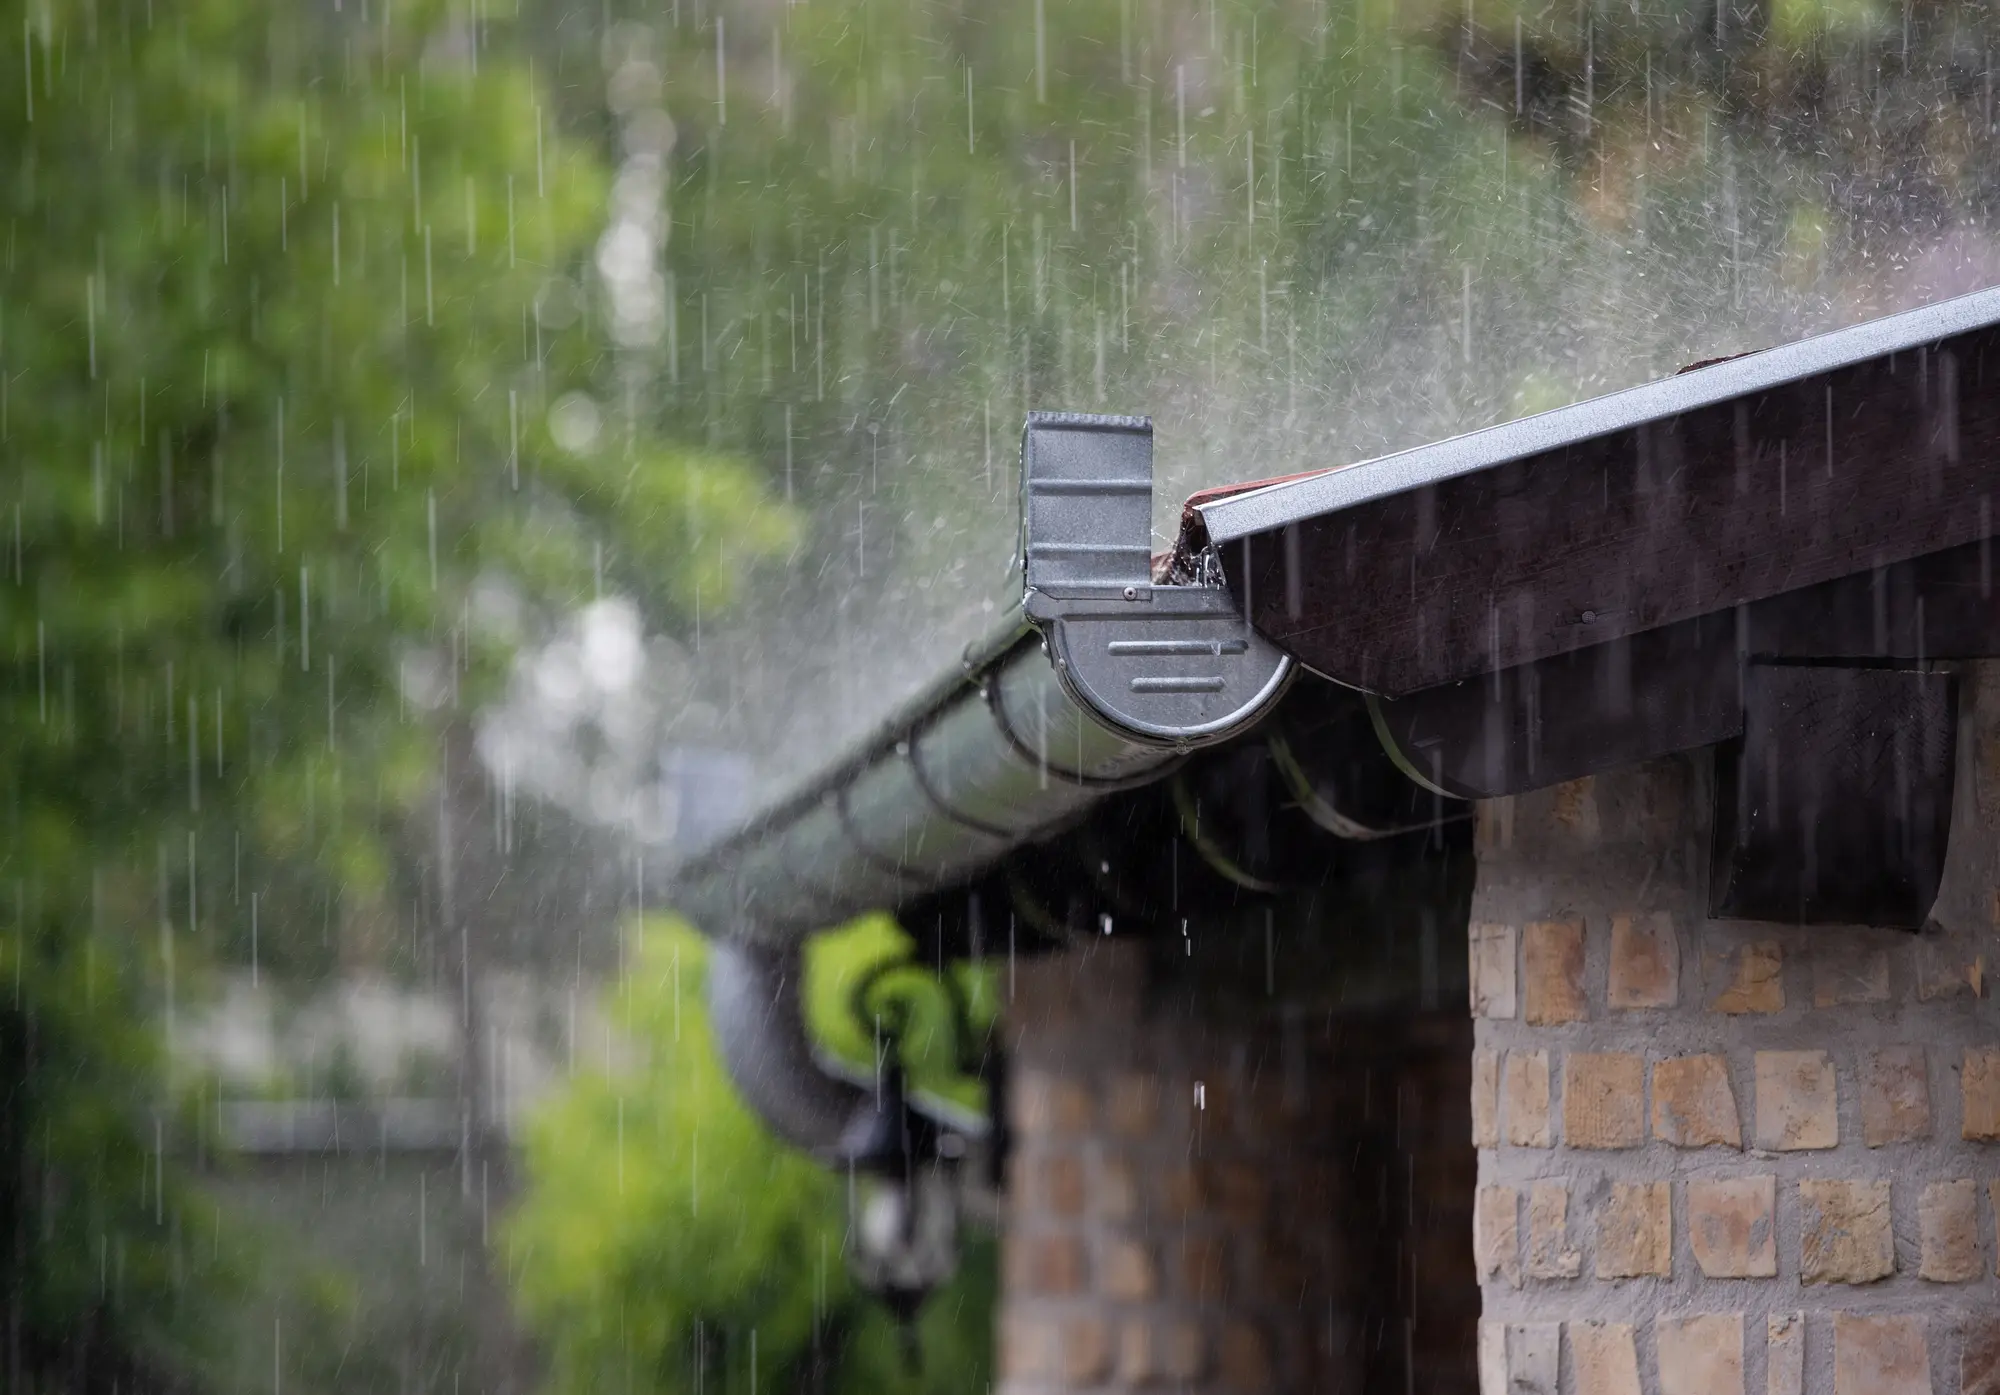
Leaking gutters allow water to seep into walls, damage foundations, and erode landscaping - problems that become increasingly expensive the longer they're ignored. Catching and repairing these leaks early can save you thousands in potential damage.
This comprehensive guide walks you through identifying leak sources, selecting appropriate repair materials, and applying professional-grade fixes that last. We'll cover common leak points like joints, corners, and end caps, plus share preventative maintenance tips that help avoid future problems.
Contact Guttering Services for a free inspection if your DIY repairs don't solve the problem or if you'd prefer to have professionals handle your gutter maintenance from the start.
Gutter Guide 02
Key Takeaways
- Regularly inspecting your gutters for signs of damage, such as sagging, cracks, holes, rust, and clogs, is crucial to maintaining proper water drainage and preventing costly repairs .
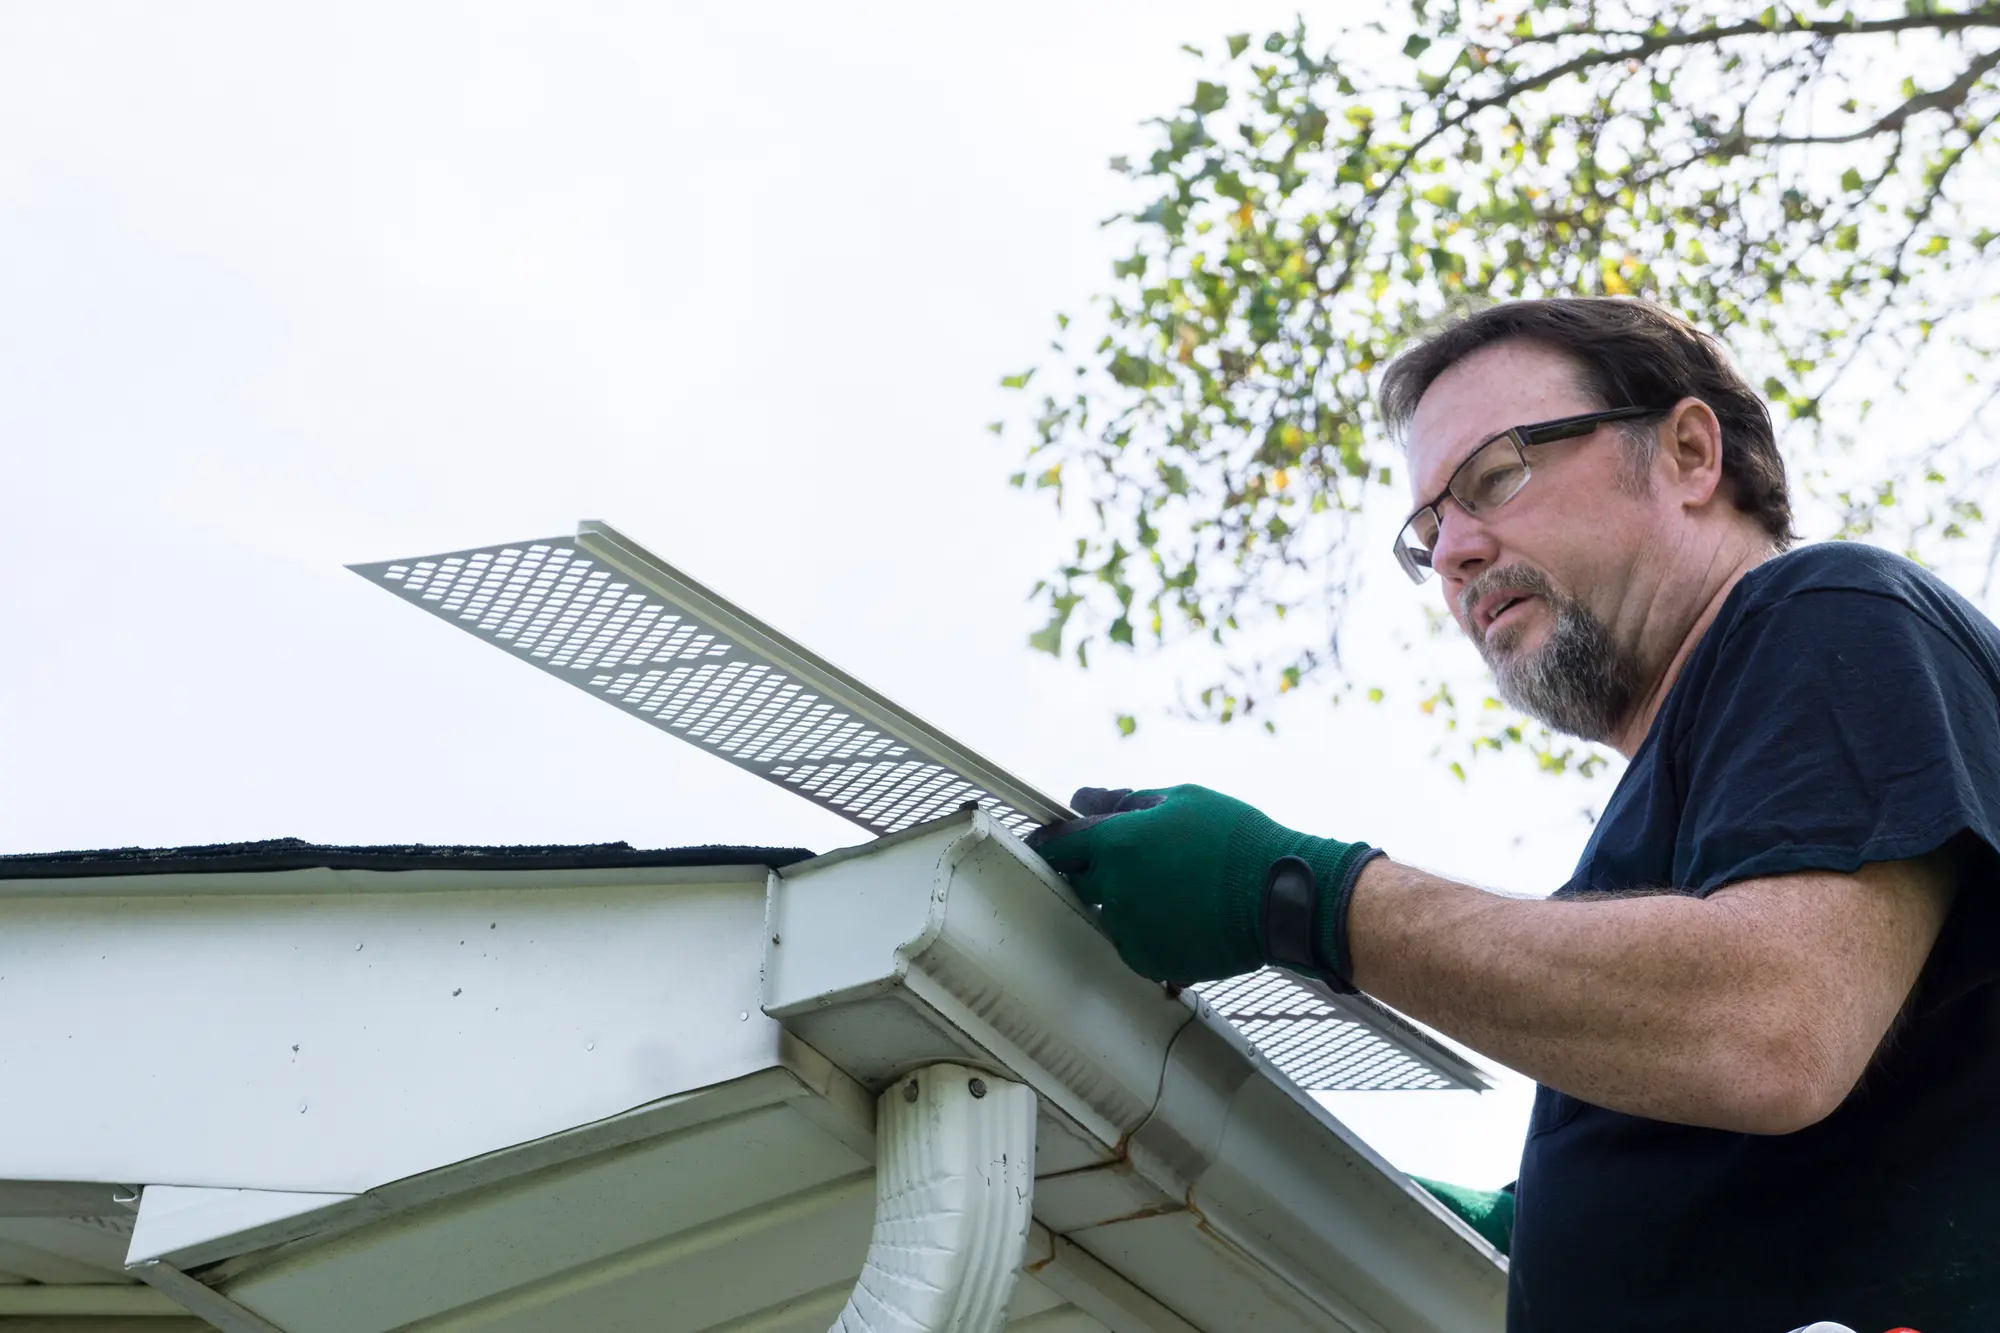
- Carefully examine gutter joints, seams, downspouts, and the connection to the roof fascia board to accurately identify the source of leaks for effective and lasting repairs.
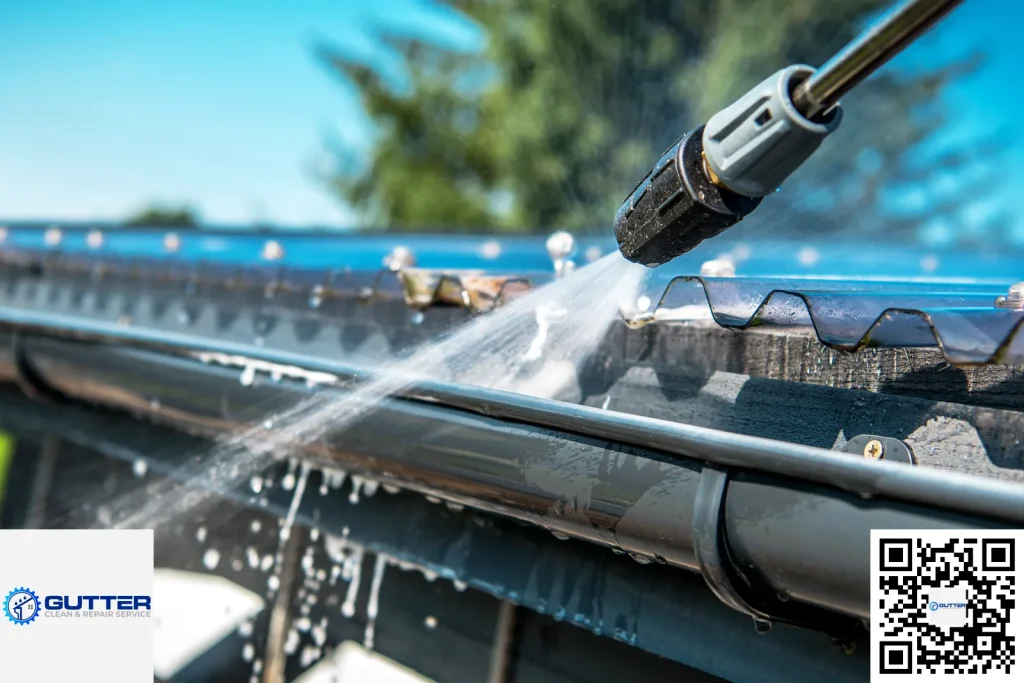
- Before applying any repair materials, make sure to thoroughly clean the gutters to remove debris and dirt that could impede the repair process and cause further issues.
- Choose the right sealant for your gutter material and apply it meticulously to ensure a durable repair that prevents future leaks and damage.
- Keep a close eye on repaired areas, especially during rainfall, to confirm the repairs are effective and prevent potential water damage to your home in the future.
Gutter Guide 03
How Do You Assess Gutter Leaks?
Assessing gutter leaks involves a few steps:
- Visual Inspection : Start by visually inspecting the gutters for any visible signs of leaks. Look for water dripping or overflowing from certain areas, water stains on the exterior walls, or rust spots on the gutters.
- Check Joints and Seams : Pay close attention to the joints and seams of the gutters, as these are common areas for leaks to develop. Look for gaps, cracks, or separations in these areas.
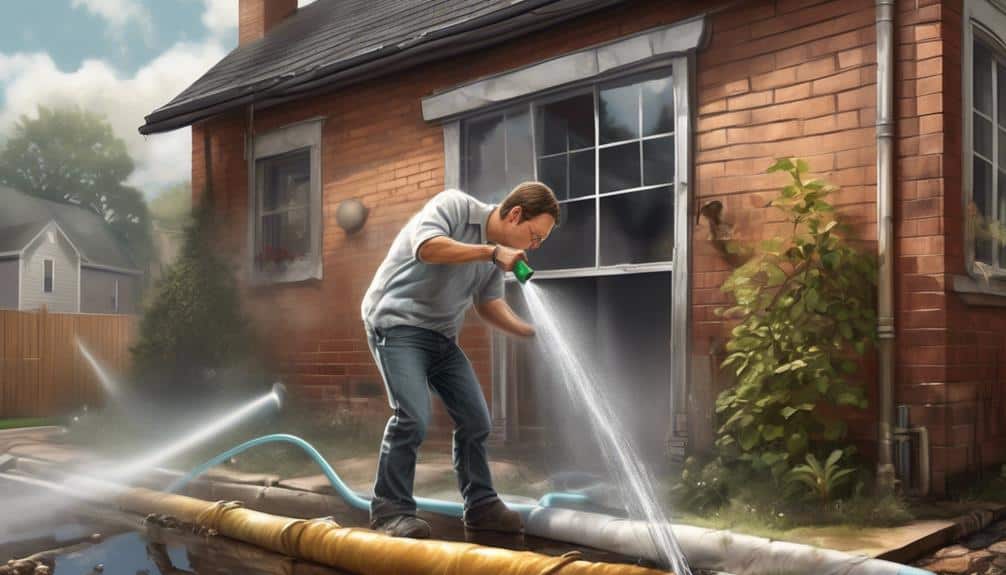
- Test with Water : One way to confirm a gutter leak is to run water through the gutters and observe if water is leaking from any specific areas. You can do this using a hose or by pouring water into the gutters from a bucket.
- Inspect Downspouts : Make sure to also check the downspouts for any leaks or blockages that could be causing water to overflow from the gutters.
- Check Roof and Fascia : Sometimes, leaks in the roof or damage to the fascia board can cause water to leak into the gutters. Inspect these areas as well to rule out any other potential sources of leaks.
- Consider Hiring a Professional : If you are unsure about the source of the gutter leak or if the leak is difficult to locate, it may be best to hire a professional gutter repair service to assess and fix the issue.
By following these steps, you can effectively assess gutter leaks and take appropriate measures to repair and prevent them in the future.
Gutter Guide 04
What Can Be the Source of the Leak?
Finding where your gutter is leaking can seem like a tricky task, but don't worry; we've got this. Let's start with a simple yet detailed check-up of your gutter system. You'll find that leaks mainly happen in three areas:
- Where the Gutter Sections Meet: Yes, we're talking about the joints and seams. Leaks love these spots. You might find cracks, gaps, or even loose connections here. The key is to inspect meticulously, as these tiny flaws can lead to significant leaks.
- The Downspouts and Drains: If you've got a blockage issue, this is where it'll be. Overflowing water caused by clogs is a common culprit for leaks. The solution? Ensure these parts are free of debris and doing their job right. A good old plumber's snake or hose can help clear any blockages.
- The Roof and Fascia Board: Sometimes, the problem isn't in the gutters at all. A leaky roof or a damaged fascia board can cause water to sneak into your gutters. Keep an eye out for missing or damaged shingles and signs of water damage. You'll also want to check the fascia board for any signs of rot or deterioration.
If figuring out the leak source seems daunting or if the damage seems serious, there's no harm in calling in the professional gutter repair service . On the other hand, if the issue is minor and you trust your skills, you can always opt for a DIY fix.
Gutter Guide 05
How Do You Prepare the Area Around the Leak for Repair?
Here are the steps to prepare the area around the leak for repair:
- Identify the source of the leak : Before starting the repair process, it is important to identify the exact location of the leak. This will help in determining the extent of damage and the type of repair needed.
- Turn off the water supply : To prevent further damage and flooding, turn off the water supply to the affected area. This will also help in ensuring a dry working environment during the repair process.
- Clear the area : Remove any furniture, belongings, or obstacles around the leak to create a clear and accessible working space for the repair. This will also help in preventing any damage to your belongings during the repair process.
- Protect the surrounding area : Use plastic sheets, drop cloths, or towels to cover and protect the surrounding area from water damage or spills during the repair process. This will help in minimising the cleanup work afterwards.
- Drain the water : Use a bucket, mop, or towels to soak up any standing water around the leak. This will help in creating a dry working environment and prevent further damage to the surrounding area.
- Ventilate the area : Open windows and doors, or use fans to improve ventilation in the area. This will help in drying out the space and preventing mould growth after the repair is completed.
By following these steps, you can effectively prepare the area around the leak for repair and ensure a successful and efficient repair process.
Gutter Guide 06
What Is the Process for Applying Waterproof Sealant to Repair the Leak?
Fixing leaky gutters and making sure they work well for a long time all comes down to the art of sealant application. Here's how to do it the right way:
Step One: Get that Gutter Squeaky Clean : Before you even think about applying the sealant, check that your gutter is as clean as a whistle and dry as a bone. Grab your trusty cleaner and scrubbing brush and get to work, removing all dirt, leaves, and any pesky rust. Make sure it's bone dry before you move on.
Step Two: Pick the Perfect Sealant : Not all sealants are created equal, especially when it comes to fixing gutters . Silicone-based sealants are a crowd favourite thanks to their flexibility and staying power. But if you're dealing with special materials like metal or PVC, you might need a specialist sealant designed specifically for these surfaces. So do your homework and choose a sealant that'll play nicely with your gutter material.
Step Three: Smooth on the Sealant : Now's the time to grab your caulking gun or sealant applicator and start applying the sealant to the leaky parts of the gutter. Start at one end and work your way to the other, making sure the application is smooth and uninterrupted. Keep an eye out for any joints or seams that might need a bit of extra sealant love. Once you've applied the sealant, smooth it out with a putty knife or even just your finger to get a clean finish.
Gutter Guide 07
How Do You Test the Repaired Gutter?
To test the repaired gutter and ensure it is functioning properly, you can follow these steps:
- Check for Leaks : Run water through the gutter system using a garden hose. Look for any leaks or drips in the repaired area. If you notice any leaks, you may need to reapply the sealant or make further repairs.
- Check for Proper Drainage : Make sure the water is flowing through the gutter system smoothly and is being directed away from the foundation of your home. Check that the downspouts are clear and that the water is draining properly.
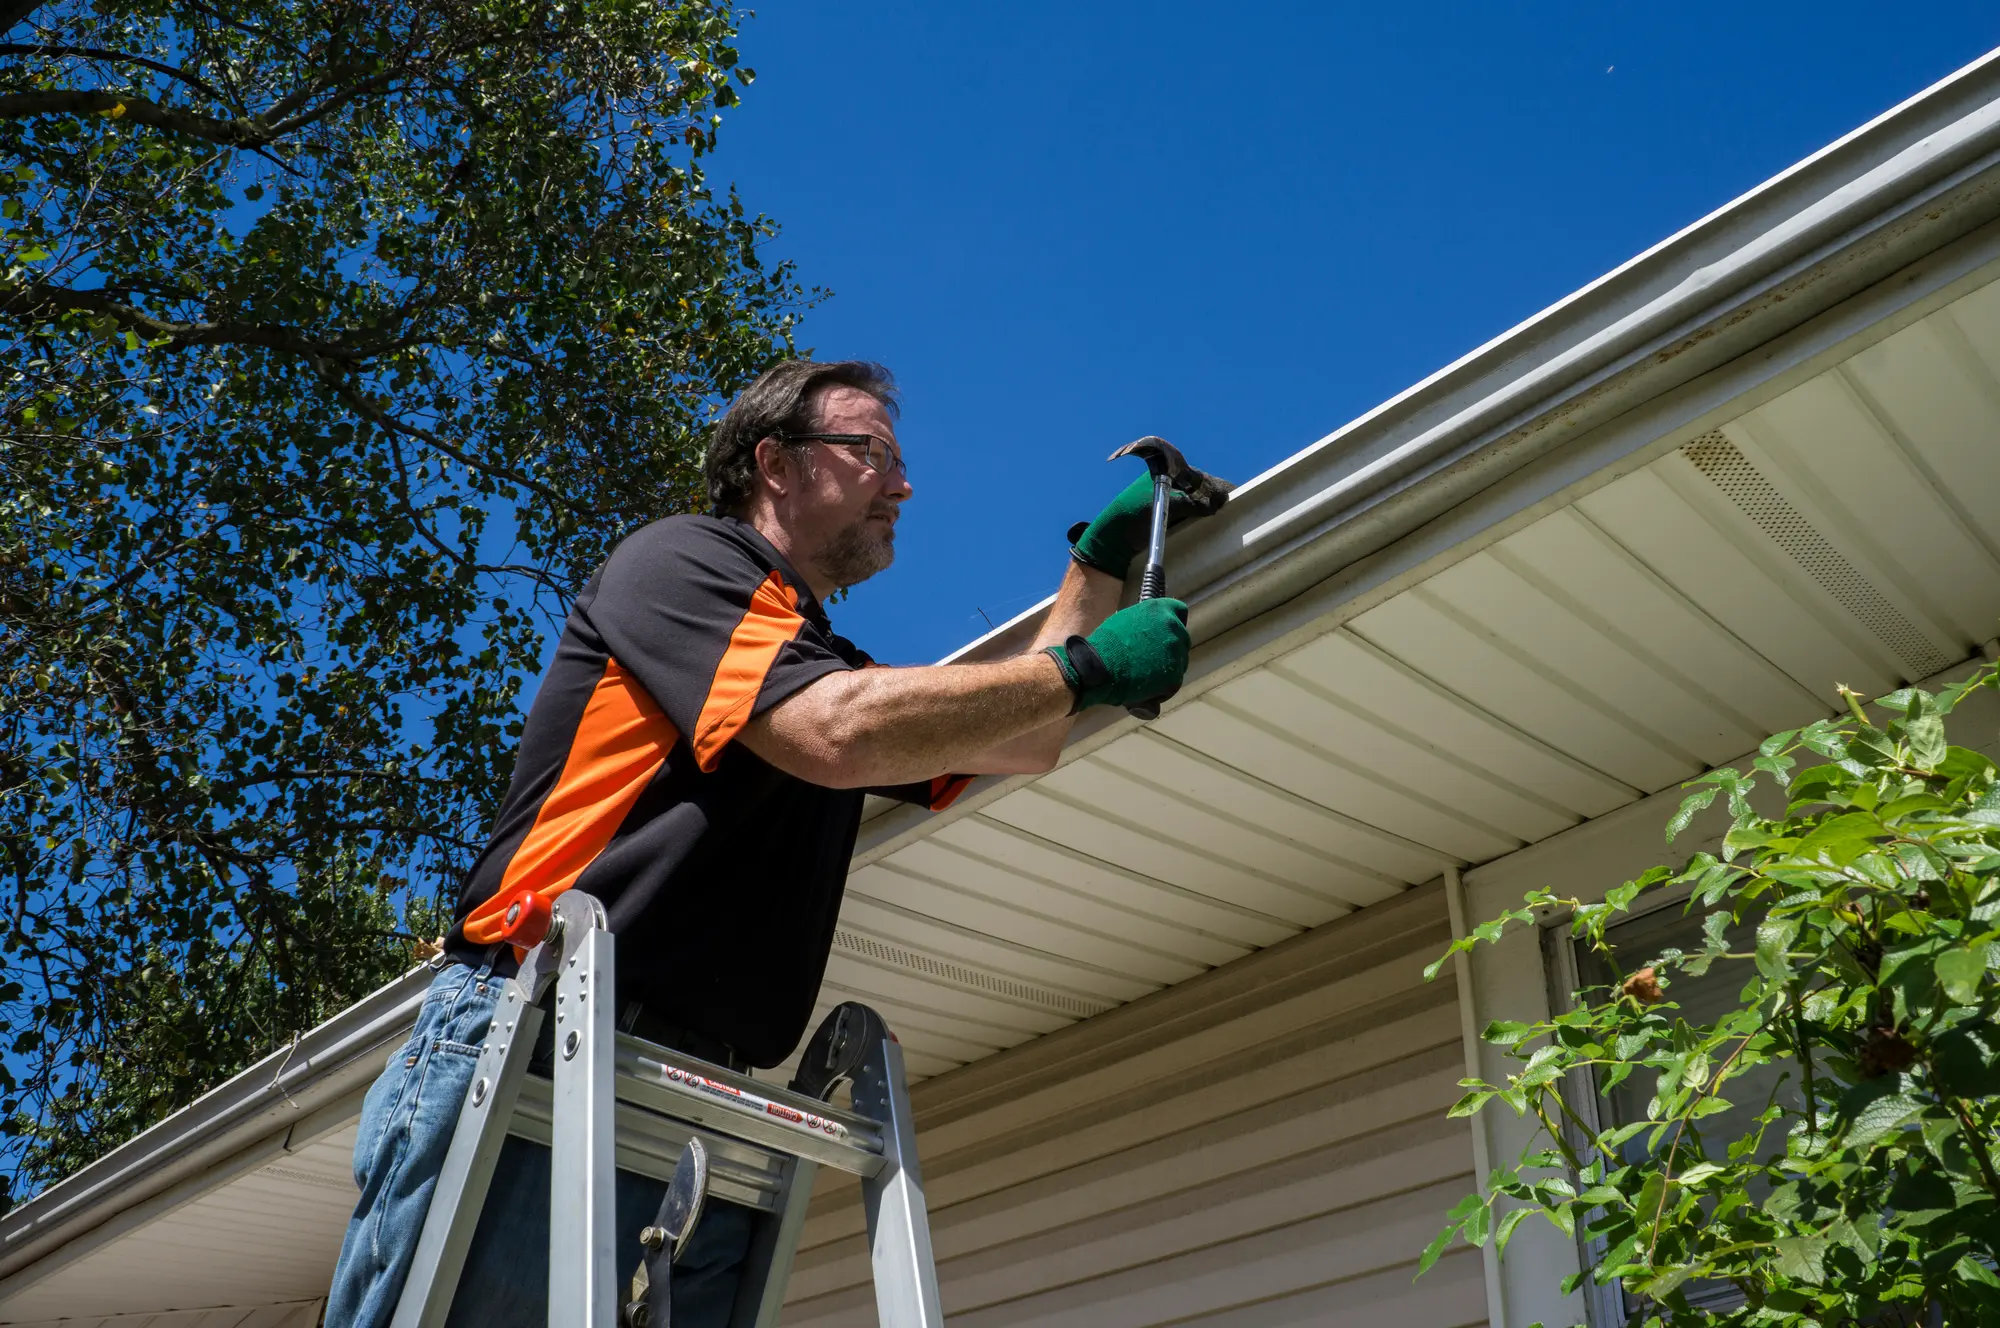
- Inspect for Sagging or Misalignment : Check that the repaired gutter is properly aligned and securely attached to the fascia board. Look for any signs of sagging or misalignment that may indicate further repairs are needed.
- Test During Heavy Rain: If possible, wait for a heavy rainstorm to see how the repaired gutter system performs under more extreme conditions. This can help you identify any potential issues that may not be apparent during a light rain.
By following these steps, you can effectively test the repaired gutter and ensure it is working as intended to protect your home from water damage.
Free local quote
Your gutter service quote is just a click away
Book a free estimate for cleaning, repairs, installation, replacement, or product advice across Limerick and Clare.
Free local estimate
2-minute health check
Limerick & Clare
Ready when you are
Get sorted faster
- Fast callback
- No obligation
- Local gutter specialists