Gutter Guide 01
Overview
- January 21, 2024
- William Murphy
Table of Contents
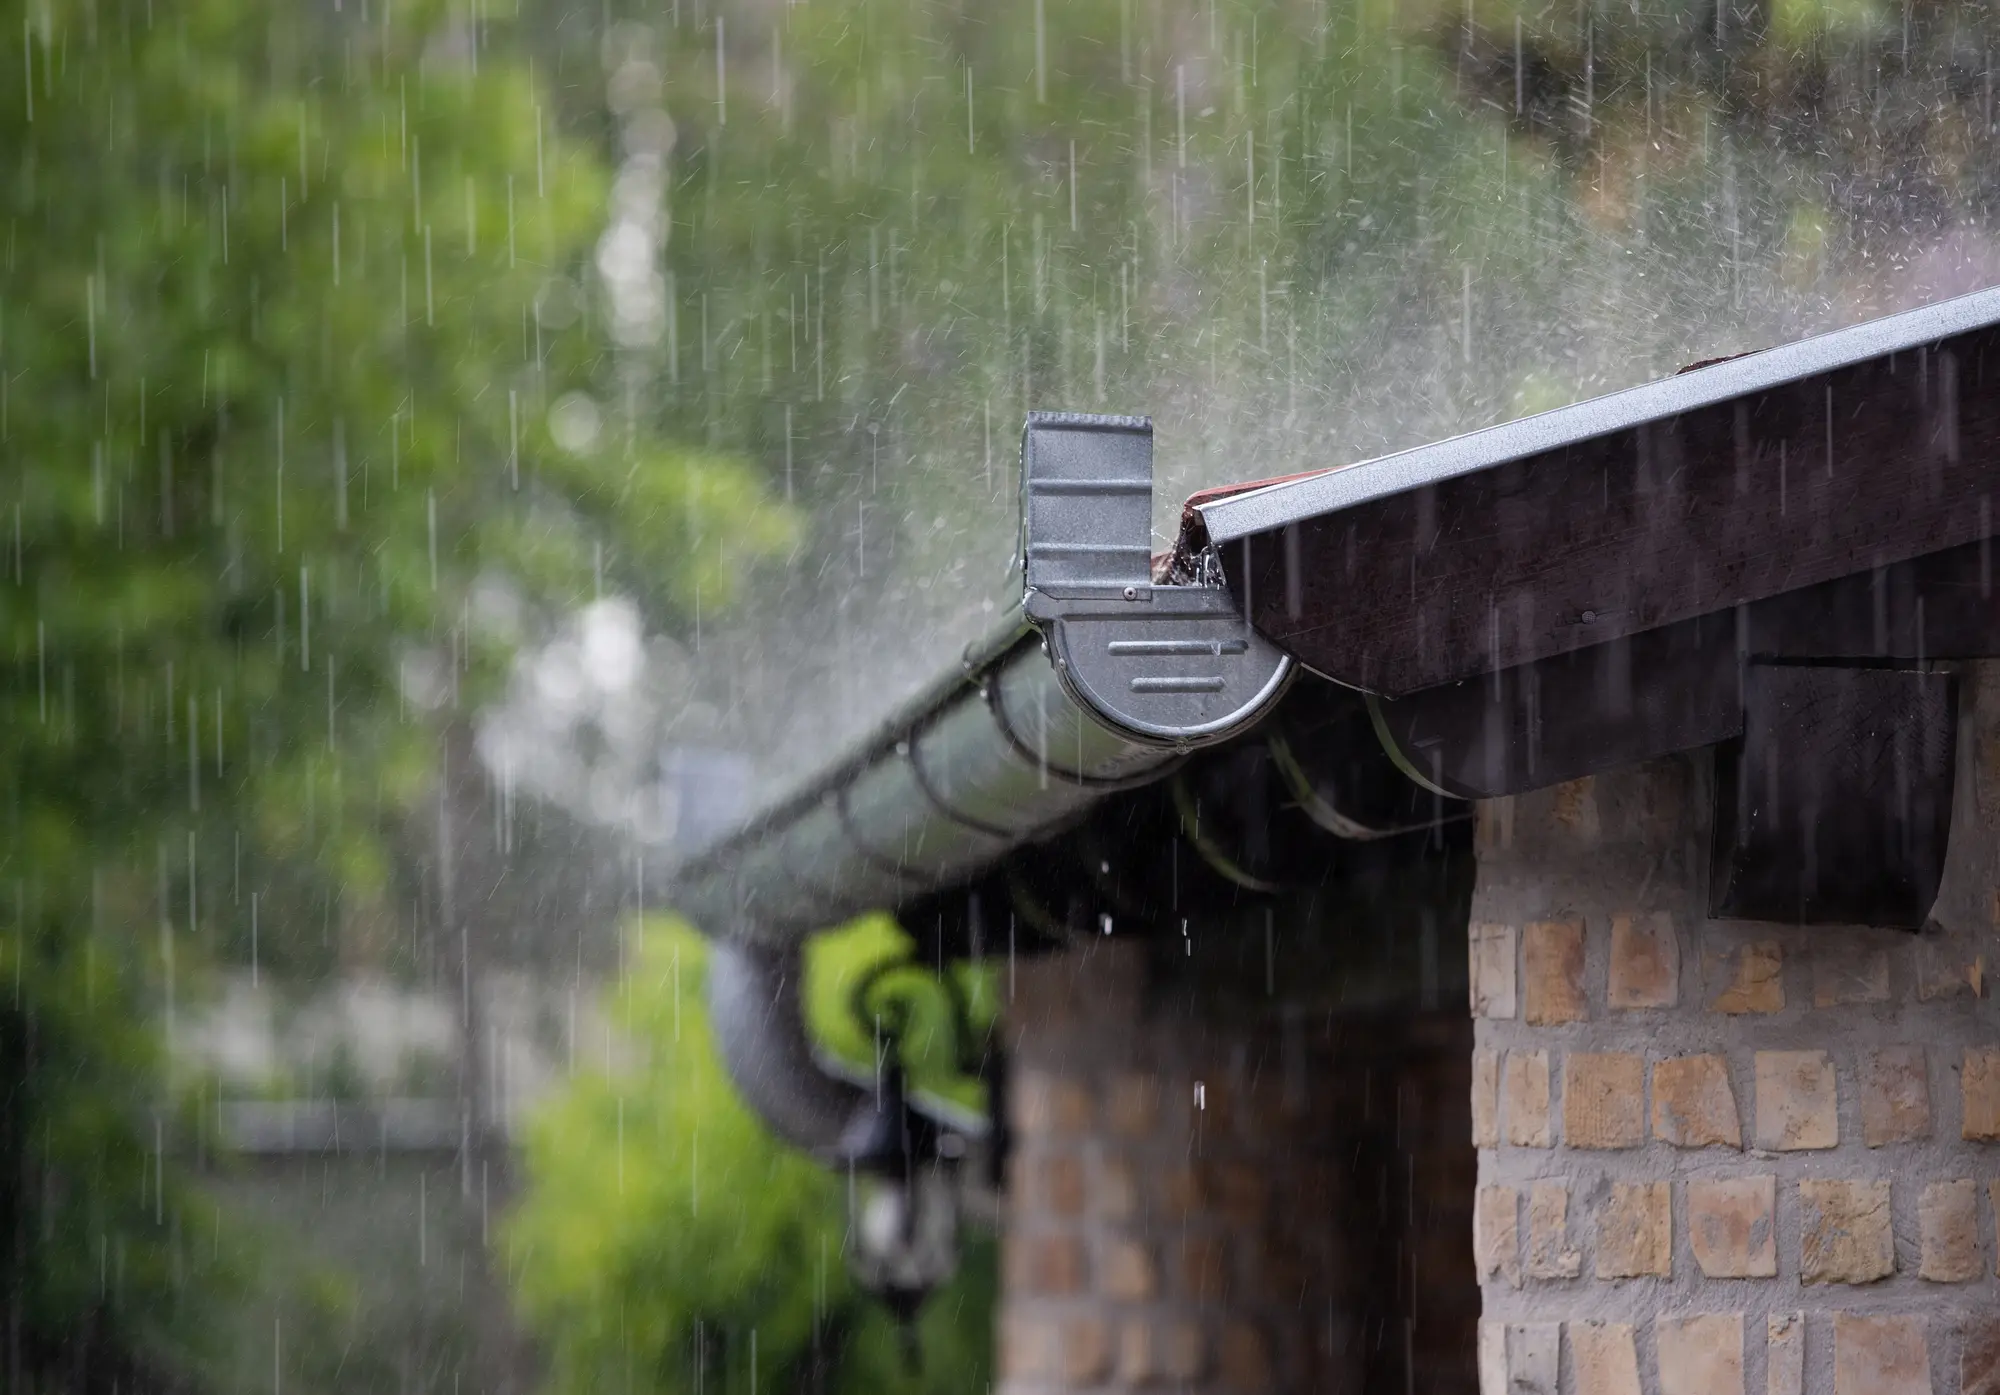
Gutter brackets play a crucial role in holding the gutters securely in place , directing water flow, and preventing water damage to your home. Neglecting to address damaged or misaligned gutter brackets can lead to a range of problems, including leaks, misaligned gutters , and compromised drainage.
In this comprehensive guide, we will walk you through the process of repairing gutter brackets step by step, providing valuable insights and practical tips.
Whether you're a seasoned DIY enthusiast or new to home maintenance, this guide will equip you with the knowledge and confidence to repair gutter brackets easily and effectively.
Gutter Guide 02
Key Takeaways
- Removing the old gutter bracket involves releasing the guttering clips, unscrewing the old bracket, and ensuring the new bracket lines up with the previous holes.
- Installing the new gutter bracket requires securing it with screws, inserting the back edge of the new guttering under the roofing tile, and clicking the clips into place to secure it.
- Tips for successful gutter bracket replacement include handling the guttering carefully, double-checking alignment, using a level, and regularly cleaning the guttering and brackets to prevent clogging.
Gutter Guide 03
Assessing Bracket Damage
Before you start repairs, it's essential to check each bracket for signs of wear or breakage. You don't want to begin fixing things up only to realise you've missed a cracked bracket that'll cause you trouble later on.
Grab a ladder and position it securely against your house. You'll need to get up close and personal with each bracket, inspecting for any obvious signs of damage.
As you examine each one, look out for rust, bends, or splits-these are clear indicators that a bracket's integrity is compromised. If you spot any screws that have worked their way loose over time, that's a red flag too. Loose screws can't hold the weight of the gutter when it fills with water, and this could lead to a whole section giving way.
Make sure you're wearing gloves to protect your hands. Gutter edges can be sharp, and old brackets may have jagged edges where they've broken.
After you've assessed the situation, you'll know exactly which brackets need replacing. This step is crucial; overlooking even minor damage can lead to bigger problems down the line . It's worth taking the time to do this right.
Gutter Guide 04
Removing Old Brackets
You'll need to carefully detach each old bracket from the gutter system, starting by easing the clips away from the guttering. This process requires patience and attention to detail to avoid damaging the gutters or surrounding roofing materials. Here's how you can go about it:
- Initial Removal
- Gently push the clips back to free the gutter.
- Work your way along, ensuring all clips are disengaged.
- Unscrewing the Brackets
- Use a screwdriver or drill to remove the screws.
- Keep them in case they're needed for the new brackets.
- Extracting the Bracket
- Carefully wiggle the bracket to loosen it.
- Pull it away from the fascia without distorting the gutter.
Once you've removed the brackets, inspect the area for any damage that may need repairing before installing new brackets. Make sure you've got all the right tools and materials close at hand for a smooth transition to fitting the new ones. Proper removal sets the stage for a successful installation, ensuring your gutters will be securely attached and functioning well for years to come.
Gutter Guide 05
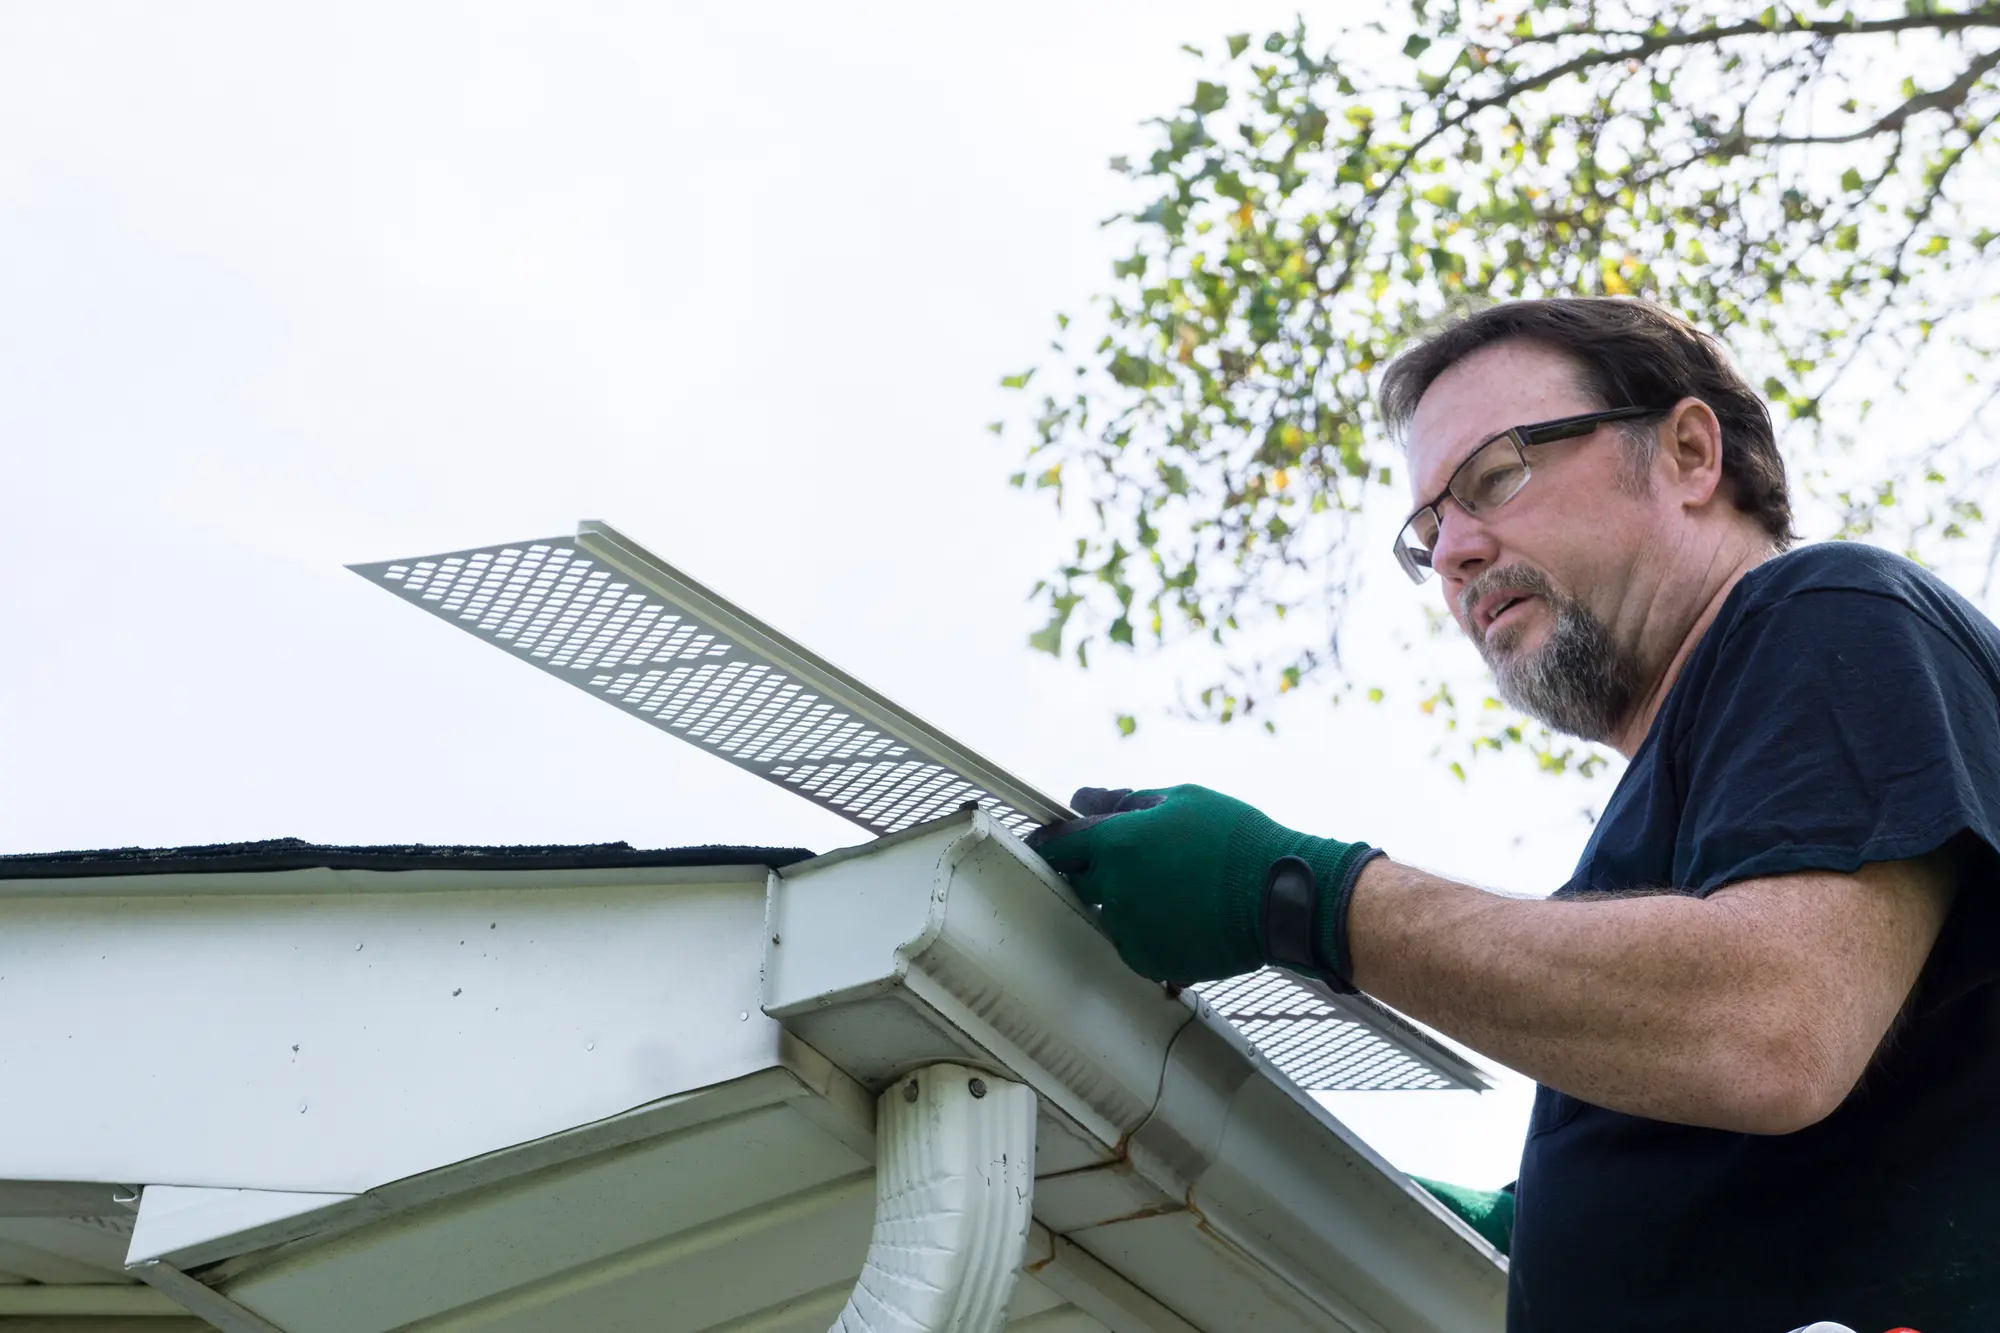
Preparing New Bracket Installation
After removing the old brackets, you're ready to begin the installation of your new gutter brackets, ensuring they're properly aligned and secured. First, check that your new brackets match the gutter system you have. Align the gutter brackets with the pre-existing holes if possible, to minimise the need for new drilling. Use a level to ensure that your gutters hang correctly, with a slight angle towards the downspouts for proper drainage.
Next, gather all necessary tools and materials. You'll need a drill, appropriate screws, and your new brackets at the ready. Don't forget safety gear like gloves and glasses. Here's a quick reference table to organise your installation process:
With everything in place, you can start attaching the new brackets. Make sure they're tight and secure, but don't overtighten as this might strip the holes or damage the brackets. Once installed, give them a gentle tug to ensure they're firmly in place before moving on to hanging the gutters.
Gutter Guide 06
Securing New Gutter Brackets
Once you've aligned and levelled your new brackets, it's time to secure them firmly to ensure your gutters are well-supported. Here's how you'll do it:
- Drill Pilot Holes:
- Mark the spots through the bracket's screw holes onto the fascia.
- Use a drill bit slightly smaller than your screws to drill pilot holes.
- This prevents wood from splitting and makes screwing easier.
- Secure the Brackets:
- Place the bracket against the fascia, lining up with the pilot holes.
- Drive screws through the bracket holes into the pilot holes.
- Tighten until the bracket is snug against the fascia, but don't over-tighten.
- Check for Strength:
- Give a gentle tug on the bracket to ensure it's secure.
- If it wobbles or feels loose, tighten the screws a bit more.
- Repeat the process for each bracket, ensuring they're all sturdy.
Gutter Guide 07
Ensuring Proper Gutter Alignment
To ensure your gutters function correctly, you must align them properly before securing the brackets. If the alignment is off, you'll face issues like water pooling and improper drainage, which can lead to bigger problems down the line.
Start by checking that your gutters are level. You can use a long spirit level for accuracy. Remember, gutters should have a slight slope towards the downspout, about 1/4 inch for every 10 feet of gutter. This ensures water flows correctly towards the downspout without spilling over.
Avoid eyeballing the measurement when installing new gutter brackets. Use the insertion marks on the fittings as a guide. These are there to help you line up the guttering correctly. Before you click the clips into place, double-check the alignment. If you're replacing an old bracket, try to line up the new one with the previous holes to keep the alignment consistent.
Lastly, don't rush this part. Take your time to get it right. If you're unsure or the alignment seems off, it's better to seek professional help than risk a faulty installation. Whether you need help with gutter bracket repair, maintenance, or any other gutter-related issues, our skilled professionals are here to assist you. Get in touch with us for all gutter repair services . Ensure your gutters are in optimal condition with the help of our trusted professionals.
Remember, a well-aligned gutter is key to a functioning drainage system.
Free local quote
Your gutter service quote is just a click away
Book a free estimate for cleaning, repairs, installation, replacement, or product advice across Limerick and Clare.
Free local estimate
2-minute health check
Limerick & Clare
Ready when you are
Get sorted faster
- Fast callback
- No obligation
- Local gutter specialists