Gutter Guide 01
Overview
- January 19, 2024
- William Murphy
Table of Contents
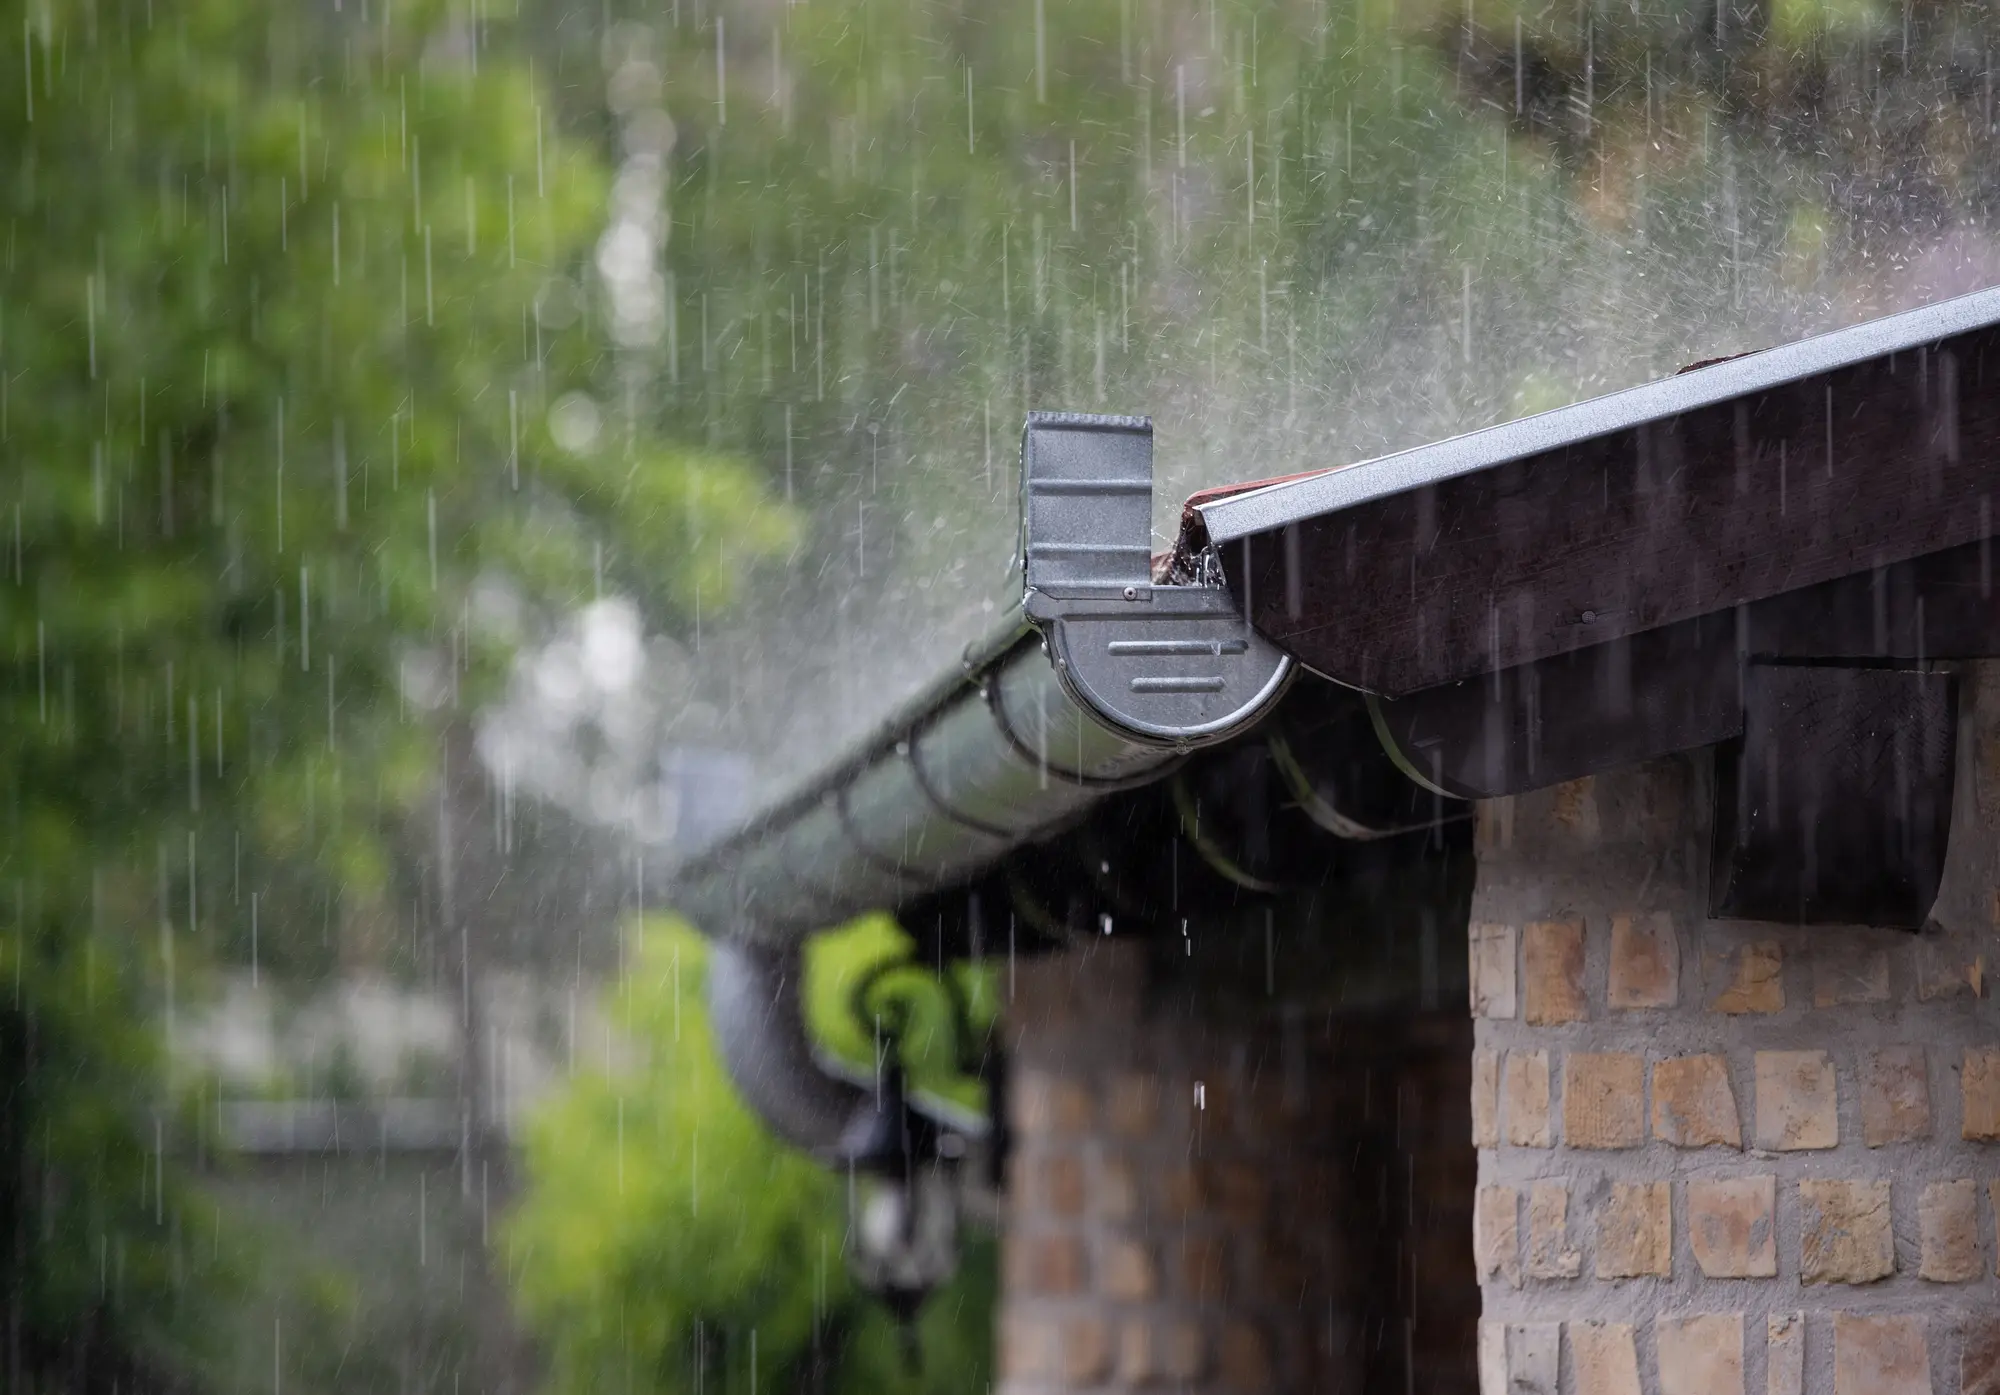
Water damage is a serious concern for homeowners - and is responsible for over 30% of home insurance payouts. One of the leading causes of water damage is malfunctioning gutters . Detecting signs of gutter leaks and conducting regular inspections of your gutters is crucial for preventing water from seeping into your home. By being aware of the indicators of gutter leaks and implementing proactive gutter repair measures, you can avoid costly water-related disasters.
In this article, we will explore the tricks to spot gutter leaks and provide practical tips for controlling their impact. Let's dive into this topic and ensure the safety of your home.
Gutter Guide 02
Key Takeaways
- Conduct regular visual inspections of your rain gutters for signs of damage, such as holes, cracks, rust, or water stains on the fascia board.
- Look for sagging sections and gutters pulling away from the roofline, as these can lead to water overflow and leaks.
- Check for blockages in the downspouts that can cause water to back up into the gutters, resulting in overflows and potential leaks.
- Inspect for pooled water around your gutters on the ground or wet/damaged landscaping, indicating improper drainage.
- Use the water hose to test your gutters for leaks, marking any areas that require repair or professional attention. Regular maintenance is crucial for preventing water damage from gutter leaks.
Gutter Guide 03
How Can You Conduct a Visual Inspection to Detect Gutter Leaks?
Begin your gutter leak investigation by visually inspecting each section for signs of damage or wear. Look for any obvious holes, cracks, or rust that could be letting water escape. If you see water stains or mildew on your fascia board, it's a telltale sign that water's been working its way through.
Check for sagging sections or gutters pulling away from your roofline. These issues can cause water to spill over the edge rather than flowing smoothly to the downspouts. Also, don't overlook the downspouts; blockages here can force water back into the gutters, leading to overflows and leaks.
Keep an eye out for pooled water around your gutters on the ground. This could indicate improper drainage, suggesting your gutters aren't channelling water away from your home as they should. Wet or damaged landscaping directly beneath the gutters is another red flag.
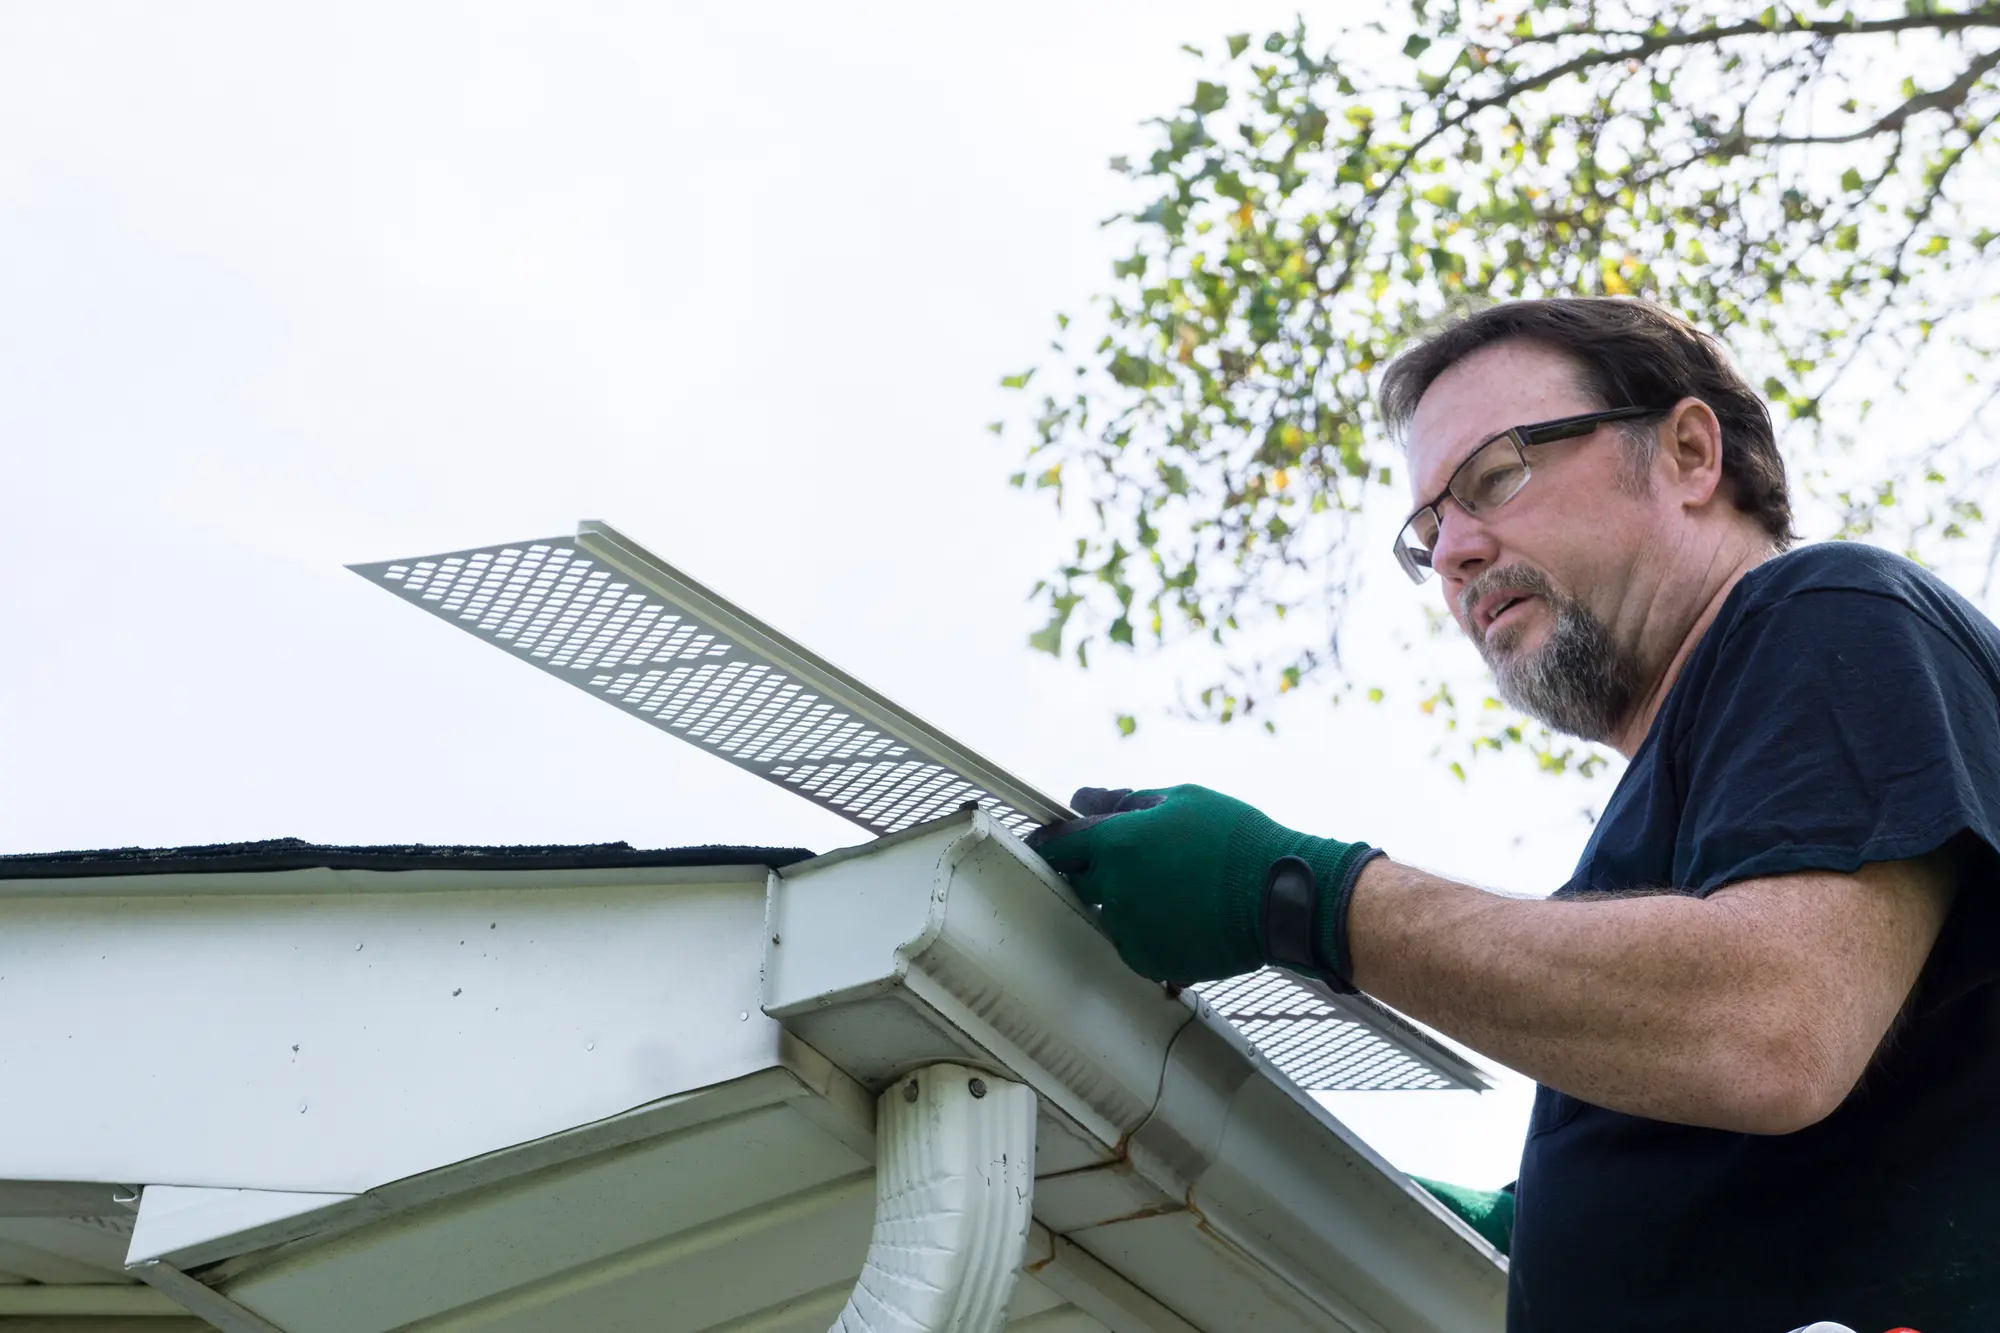
Lastly, if you install gutter guards, ensure they're not damaged or clogged with debris. While they're designed to keep out leaves and twigs, they need regular checks to work effectively.
Gutter Guide 04
What Is the Water Hose Leak Test Method for Spotting Gutter Leaks?
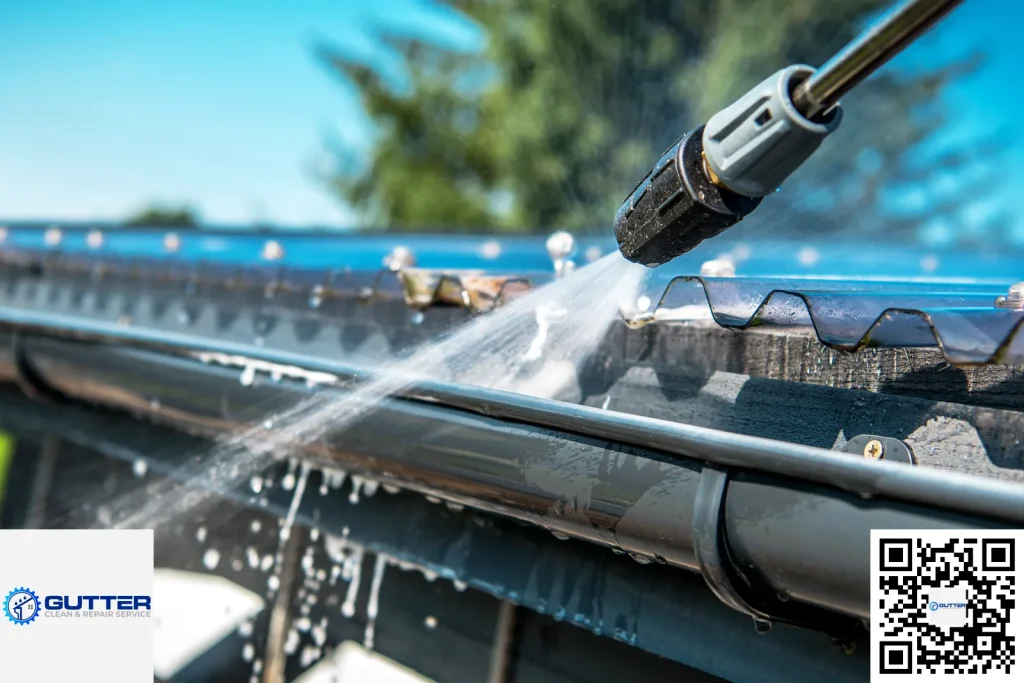
After visually inspecting your gutters for signs of damage, you'll want to move on to the water hose leak test to pinpoint any small, less obvious leaks . This practical method will help you identify even the most elusive issues with precision.
Here's how to do it: Grab your garden hose and head up to the roof. You'll want to run water through the gutters, starting at the farthest point from a downspout. Watch closely for any water escaping. If you're doing this alone, it'll be a bit trickier. You might need to go up and down a few times unless you spot the leak immediately.
This table outlines the steps and what to look for:
If you find a leak, make sure to mark it. You can often fix small gutter leaks with a sealant or patching kit, but larger issues might need professional attention. Remember, regular checks and maintenance are your gutters' best friends. Don't wait for a rainy day to discover a problem!
Gutter Guide 05
What Should You Look for When Checking for Sagging Sections?
Over time, the weight of water, debris, and the gutters themselves can cause sagging. This is more than just an aesthetic issue; if not addressed, it can lead to serious water damage.
Start by visually inspecting your rain gutters from the ground. Look for any sections that appear lower than the rest or pull away from the roofline. These sagging areas can prevent water from flowing properly toward the downspouts, causing it to spill over the sides instead.
If you spot a sagging section, grab a ladder and look closer. Ensure the ladder is secure and climb to the gutter's level. Check for loose or missing hangers, which are the brackets that hold the gutter to the fascia board. Over time, these can become weakened or detached, leading to sagging. Also, examine the gutter itself for any signs of bending or damage.
If you find any issues, it's time to take action. Small problems like replacing hangers or tightening screws can often be fixed on your own. However, suppose the gutter is significantly damaged or the sagging is widespread. In that case, you might need to call in a professional to ensure your gutters are repaired properly and can protect your home from water damage.
Gutter Guide 06
How Do You Inspect Gutters for Corrosion?
Regularly checking your gutters for signs of corrosion is another crucial step in maintaining a leak-free system. Corrosion can eat away at your gutters, creating holes that allow water to escape. You'll want to look for any rust patches, especially at the seams and joints where water can collect. If you spot orange or brown discolouration, that's a red flag indicating the start of corrosion.
Don't ignore minor rust spots; they're an early warning. You can tackle small areas with a wire brush and apply a rust-inhibiting primer to prevent further damage. However, if the corrosion is extensive, you might need to replace sections of your gutter or even the entire system.
Pay close attention to areas around downspouts and corners as well-these are hotspots for rust and leaks. If you're unsure about the extent of the corrosion, it's better to consult a professional. They can assess whether you can repair the damage or if it's time for a new gutter installation .
Gutter Guide 07
What Is the Dye Test Method?
To further ensure your gutters are leak-free after checking for corrosion, you can perform a dye test to uncover any hidden leaks that might be present. This simple trick involves using a non-toxic dye to visually trace the water path and identify any points where it may escape. Here's how you can do it:
- Get your materials ready : You'll need a non-toxic dye, often found in food colouring or environmental tracing dye. Ensure you've got enough to be noticeable when diluted by the water in your gutters.
- Prepare your gutters : Clean out any debris from your gutters . This ensures that the dye isn't obstructed and gives you a clear view of any potential leaks.
- Conduct the test : Add the dye to a bucket of water and pour it into your gutters. Watch the flow of the coloured water to see where it might be leaking. A bright, consistent colour will make it easier to spot anomalies.
- Inspect and mark : Wherever you see the dye escaping, mark the spot. You can use a piece of chalk or waterproof tape. This helps you remember where to focus repairs after the test is complete.
Free local quote
Your gutter service quote is just a click away
Book a free estimate for cleaning, repairs, installation, replacement, or product advice across Limerick and Clare.
Free local estimate
2-minute health check
Limerick & Clare
Ready when you are
Get sorted faster
- Fast callback
- No obligation
- Local gutter specialists